
This is by far the best challah recipe I've ever come across. It is soft, fluffy, and incredibly easy to make!
Eat it right out of the oven when it's still warm, or use it for a traditional Shabbos meal. Either way, you can't go wrong.
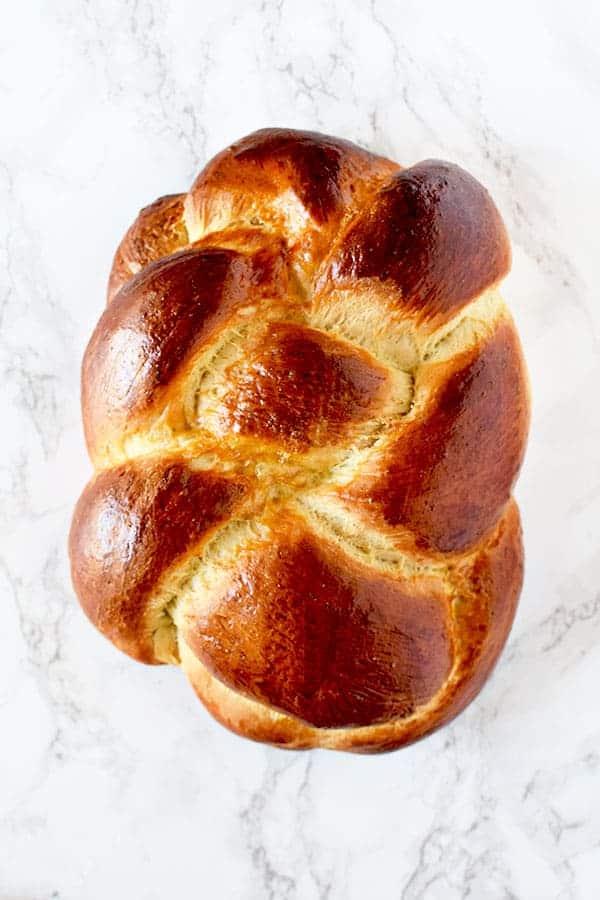
While bread in theory may be easy to make, I've always struggled to find a challah recipe that worked for me.
They always came out too heavy and only tasted good warm.
I mean sure, pretty much everything tastes best fresh out of the oven, but it shouldn't have to be warm to taste good.
But really, is there anything better than fresh baked bread? If there is, I sure can't think of it!
One of my favorite memories is the time I drove with a friend from Queens to the Adirondacks in Upstate New York.
We left really early and stopped at a huge supermarket in Albany for breakfast.
There, we found fresh bread that was still warm right out of the oven!
I couldn't believe how soft and good it was… I've been obsessed with fresh bread ever since.
This recipe tastes just like store-bought, but better! It's soft, fluffy, and tastes good warm or at room temperature. It even tastes good the next day.
And if you are interested in other Jewish classics, you may like my matzo balls and my Jewish honey cake.
Or if you are interested in more challah variations, you may like my honey challah, which is very popular recipe to make for Rosh Hashanah.
⭐⭐⭐⭐⭐
"Love this recipe! First time making challah and it's been a big success."
David
Jump to:
- Is this challah vegan friendly?
- How to Measure Flour and Other Dry Ingredients
- Would it be better if I use bread flour instead?
- Can I use whole wheat flour instead of all-purpose flour?
- Why do you use instant yeast?
- Sugar
- Which Type Of Oil should i use?
- Is there a way to make my dough rise faster?
- How do you punch the dough?
- Is the second rise really necessary?
- What is overproofing dough?
- How long can I keep dough in the refrigerator?
- Can I freeze unbaked dough for later use?
- Why did my dough turn out dense and heavy?
- baking at high altitudes
- Adjusting for a Convection Oven
- Troubleshooting
- How To Freeze
- How to Defrost
- Best Challah
Is this challah vegan friendly?
While this is a water challah recipe and not an egg challah recipe, it doesn't call for eggs when making the dough, it is brushed with raw egg which enhances the flavor and gives it a beautiful color.
If you want to turn this as a vegan challah, just leave off the egg or replace it with watered down maple syrup or watered down apricot jam.
If you do this, the challah will be sweeter, but it will also have a nice color to it.
How to Measure Flour and Other Dry Ingredients
The best way to measure dry ingredients is with a scale, but in the United States, dry measuring cups are usually used instead.
Weighing ingredients is useful for home bakers, but it's especially important for professional bakers because they work with huge batches.
I usually use dry measuring cups when baking too, because I didn't grow up in a country that generally weighs ingredients, so please don't feel like you can't use them.
To measure most dry ingredients, first spoon them into a dry measuring cup and then level off the measuring cup with an upside-down butter knife.
Make sure not to pack it down because this will cause you to use more of the ingredient than the recipe calls for.
Brown sugar is the exception to the rule, though. To measure brown sugar, pack it into the measuring cup and then level off any excess.
To measure chocolate chips, nuts, or dried fruit, just pour them into the dry measuring cup and then level them off.
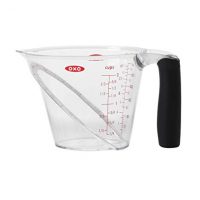
What are dry measuring cups?
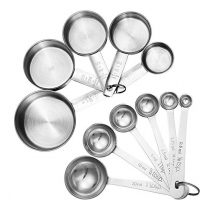
Dry measuring cups are the set of cups that usually come with measuring spoons. Each cup is a different measurement, just like each spoon is a different measurement.
Liquid measuring cups, on the other hand, are the cups that usually hold more than one cup and have lines on the side that mark the measurements.
The problem with using liquid measuring cups to measure powdery dry ingredients, like flour and cocoa, is that you shake the cup to level them off. This causes the powder to settle, and you end up with more than you need.
I tested this with a friend who didn't believe me, and we ended up with a quarter cup more flour than the recipe called for.
Should I sift the flour and other dry ingredients?
It's usually recommended to sift your powdery ingredients, like flour and cocoa, before using them.
Sifting aerates the flour and removes any lumps, which helps make baked goods fluffier.
It also helps you get a more accurate measurement than when you use flour that's been packed tightly in a bag.
And sifting dry ingredients together, like flour, cocoa, and baking powder, helps make sure they're evenly distributed in the batter. Which honestly, I think is probably overrated, so I personally never bother with it.
Would it be better if I use bread flour instead?
No, because bread flour has a higher protein content than all-purpose flour, which creates a chewier texture and heavier, denser bread.
This can be great in recipes like bread bowls, but it's not good for the texture we're aiming for here. We want a light and fluffy texture, not a chewy texture.
Can I use whole wheat flour instead of all-purpose flour?
You can.
But whole wheat flour absorbs more liquid than all-purpose flour, so it produces stiffer, drier dough that struggles to rise. You need to add extra liquid so the dough can be as soft and rise as well as it would if it were made with all-purpose flour.
For every cup of whole wheat flour substituted, increase the liquid by 2 teaspoons.
Then, once you've mixed up the dough but before kneading, let it rest for 30 minutes. This rest gives the flour the time it needs to fully absorb the liquid.
Why do you use instant yeast?
I like instant yeast because it's really easy to use, it rises quickly, it doesn't come prepackaged into packets that don't match the amounts called for in the recipes, and it's more cost-effective than active dry yeast.
This is my favorite type of yeast to use because it lasts longer than fresh yeast, and you need less of it than active dry yeast. I use it whenever I make dinner rolls or cinnamon rolls.
Can I use active dry yeast?
Yes. You can replace instant yeast with dry yeast at a 1:1 ratio (which means spoon for spoon or the exact same amount).
But, keep in mind, it could take 15 to 20 minutes for the dough to rise to double in size.
And, keep in mind, if your yeast is older than 2015 (which is possible because it lasts ages when you freeze it and if you use it sparingly), you need to activate it before using it.
Around 2015, active dry yeast was reformulated so that you wouldn't need to activate it anymore, so you almost definitely do not need to activate/bloom it first, but double-check the instructions on the package just in case.
Can I use rapid-rise yeast?
Rapid-rise yeast is often specifically marketed toward users of bread machines. It's pretty much just instant yeast with a smaller grain.
The smaller granules allow it to dissolve faster in the dough, allowing it to rise even faster than instant yeast, so keep an eye on it to make sure it doesn't overproof.
Can I use fresh yeast?
Fresh yeast, cake yeast, block yeast, wet yeast, or compressed yeast is found in small, foil-wrapped cubes.
It is far less popular with home bakers because it's highly perishable. However, it is still widely available for commercial use and is still used by home bakers in some countries.
The benefit of using it is that it's easier to measure and has the most leavening power.
If you want to use fresh yeast in this recipe, then for every 1 teaspoon of instant dry yeast, you'd need 17 grams (or 0.6 ounces) of fresh yeast.
Make sure to bloom/activate the yeast before using it in this recipe.
Can I use sourdough starter instead of yeast?
Sourdough starter is wild yeast (which exists in the air) that has been cultivated.
I haven't tested it, so I really wouldn't recommend it. Sourdough is much more finicky to work with.
My brother once made a starter and named it Meekol (as if my family didn't have enough pets between the dog, backyard cats, parrots, and hamsters, we now had a pet made of fermented cultures!).
It was easy enough to make, but when we tried to make sourdough bread from some of it, it totally flopped, and the sourdough bread (if the results could even be called that) was thrown out.
In my opinion it's really too risky to use for this recipe.
Why activate the yeast first?
Even though I use instant yeast, I recommend activating it first if you have concern that it may be old.
This is especially important if you store your yeast outside the freezer, which drastically shortens its life span.
I almost always activate my yeast first, even though I store it in the freezer, because it helps me troubleshoot if something goes wrong.
I've had it happen a few times that the dough in a recipe took a long time to rise, and I was scared that the yeast wasn't good anymore, and I wasn't sure if the dough was hopeless and I should throw it out and start over (if I even had the time to start over), or if I should give it more time.
It always turned out that it just needed more time, but that caused me enough stress that I almost always make sure to proof the dough first just to be sure the yeast is still alive.
And it's particularly useful when you don't have a "warm" place to let it rise, because lower temperatures cause the dough to rise slowly.
And of course, if you're using fresh yeast, you do have to activate it first.
How do I activate yeast?
To activate or bloom the yeast, mix the yeast with warm liquid (usually around 110°F or 43°C) with sugar.
Most recipes call for a small amount of sugar, but I always use all of the sugar and liquid called for in the recipe to save time.
The sugar provides a food source for the yeast. After a few minutes, the mixture should become frothy, telling you that the yeast is active and ready for use.
Sometimes it could take longer, so don't worry if it takes around 10 minutes to be sure.
After that, you can add the rest of the ingredients to make the dough.
Sugar
The primary role of sugar is to be a sweetener. However, sugar also contributes to the tenderness and moistness of the baked good by absorbing and retaining moisture and helps create the golden brown color when baking as it caramelizes.
Recipes with more sugar often result in softer, moister textures. However, I learned the hard way that too much sugar leads to a sticky mess.
When it's heated, sugar caramelizes, resulting in a rich, complex flavor and a brown color. This adds both flavor and color to baked goods and is also the process in which caramel sauce, dulce de leche, caramel candies, and regular candies are made.
When used in recipes containing yeast, the sugar is eaten by the yeast, producing carbon dioxide and causing the dough to rise.
Sugar also acts as a preservative in jams, jellies, and fruit preserves by reducing water activity and preventing microbial growth.
There are many different types of sugar, including white sugar, brown sugar, vanilla sugar, powdered sugar, turbinado sugar, and demerara sugar.
When a recipe calls for "sugar" without specifying anything else, it's referring to regular white sugar.
White Sugar
White sugar (sometimes called granulated sugar, table sugar, or white granulated sugar) is made of either beet sugar or cane sugar, which has undergone a refining process.
It is the easiest to find and most commonly used.
Brown Sugar
Brown sugar is white sugar with molasses added to it.
It is commonly used in chocolate chip cookie recipes, and it's rare for a recipe that calls for brown sugar not to also call for white sugar as well.
When a recipe calls for "brown sugar" but doesn't specify what type (light or dark), it is referring to light brown sugar.
In my recipes, you can use whatever type of brown sugar you have on hand, whether it is dark brown sugar, light brown sugar, or demerara sugar - which is very common in Israel.
Just keep in mind that the flavor and color will be slightly different, depending on what you choose to use.
Turbinado Sugar
Turbinado sugar is better known as "raw sugar." But, despite this name, the sugar is not really "raw."
Instead, it's partially refined sugar that retains some of the original molasses.
The term "raw sugar" may also give off the impression that it is somehow healthier.
In reality, turbinado sugar is nutritionally similar to white sugar.
Demerara Sugar
Demerara sugar is very popular in Israel and is especially delicious in tea, but is also used for baking.
Unlike white sugar, demerara sugar undergoes minimal processing and retains some vitamins and minerals.
However, it is still not much healthier than white sugar.
Vanilla Sugar
Vanilla sugar is not very common in the States. However, it is common in Israel and parts of Europe.
This is sugar that sat for an extended period of time with vanilla beans, giving it a vanilla flavor.
Caster Sugar
This type of sugar is common in the United Kingdom.
It has a grain finer than white (granulated) sugar and larger than powdered sugar.
Caster sugar is often called for in recipes for delicate baked goods like meringues, souffles, and sponge cakes.
You can use a 1:1 conversion rate between caster sugar and white (granulated) sugar.
Powdered sugar
Powdered sugar, sometimes known as confectioners' sugar, is a sugar with a powdered texture.
This sugar is rarely used for baking. Instead, it is used for dusting desserts and making frosting, icing, and glazes.
In some countries, you can also find powdered vanilla sugar.
It is made the exact same way regular vanilla sugar is made. However, the sugar used is powdered instead of granulated.
Vanilla Extract vs Vanilla sugar
In my recipes, I don't specify what kind of vanilla to use.
The reason for this is that in the States, vanilla extract is exclusively used.
Meanwhile in Israel, along with many European countries, vanilla sugar is common.
In most, if not all recipes, both vanilla extract and vanilla sugar can be used.
In recipes where vanilla sugar can be used instead of extract, you can replace them 1:1.
Can I replace the Sugar with Honey?
I recommend you make my honey challah instead.
Which Type Of Oil should i use?
I don't specify in the recipe which type of oil to use because it's mostly personal preference and I don't want anyone to feel they have to use specifically that type of oil. For the most part, you can use whatever oil you feel most comfortable using.
I use neutral oils like canola oil, safflower oil, and vegetable oil.
You can also use stronger oils like olive oil and coconut oil, but keep in mind that they may change the taste somewhat.
If you're going to use olive oil, use the one labeled pure olive oil because it has the mildest flavor. This should make the flavor a lot less noticeable.
Is It Better to Use Canola Oil or Olive Oil?
Canola oil is relatively cheap and, due to its lack of flavor and high smoke point, is very versatile.
Olive oil, on the other hand, is generally considered a healthier choice.
So, really, it's whatever you prefer.
Is there a way to make my dough rise faster?
To speed up the rising process, you can preheat the oven to its lowest temperature and turn it off.
Then, cover the dough with a damp towel and place it in the oven.
This trick works for me every time. Sometimes, I've needed to remove the dough and preheat the oven another time or two, but usually just once does the trick.
Some bakers feel it doesn't allow flavors to really develop. Personally, I've never noticed much of a difference.
How do you punch the dough?
"Punching" is a bit of a strong word. Yeast is a delicate living thing, so you actually need to treat it with care.
What you're really doing is lightly pressing down the dough through the center with your fist. This removes gases that have formed during the first rise.
By doing this, you are also bringing the yeast, sugar, and moisture back together, which is important for the second rise since the yeast feeds on the sugar.
After you "punch" down the dough, you should pull the edges of the dough to the center. Then, take the dough out of the bowl and place it on a lightly floured board. Next, scrape out the remaining dough from the bowl using a rubber spatula.
Lastly, shape your dough into a ball, and if desired, you can knead the dough two or three times to release additional air bubbles.
I like kneading my dough a few times by hand after the mixer has done most of the work. This creates an extra smooth crust.
Is the second rise really necessary?
The second rise allows the yeast to feed longer on the sugar. This allows the bread to become larger, have a better crumb, and develop a better flavor.
Also, if you were to let it rise only once, punch it down, shape it, and stick it in the oven, your bread would rise somewhat, but not enough for it to become fluffy.
What is overproofing dough?
Letting the dough rise is known as "proofing the dough." Overproofing is when you let the dough rise too much.
If you let your dough rise too much, it will seem big and beautiful at first, and then it will fall and become dense after it's removed from the oven.
This used to happen to my Mom all the time when she was first learning to bake bread.
She'd see how big and beautiful the bread would look if she let it continue to rise more than double in size, and she'd get excited at how fluffy it would be.
But every time she baked it that way, it would fall and get heavy, and she never understood what happened. Then, when she mentioned it to someone, they explained to her that it was because she was overproofing her dough.
If you've found that you left the dough to rise much larger than double its original size, punch it down, reshape it, and then let it rise to its proper size.
How long can I keep dough in the refrigerator?
You can refrigerate dough for up to 2 to 3 days. After that, the yeast may lose potency.
Keep in mind, the dough will continue to rise slowly during that time.
Can I freeze unbaked dough for later use?
You can freeze dough in an airtight freezer container for up to four weeks.
When you're ready to use it, first thaw the dough in the refrigerator overnight.
It will take up to twice as long for the dough to rise as it would if it hadn't been frozen.
Why did my dough turn out dense and heavy?
This can be due to overkneading, not letting it rise completely, overproofing, or using too much flour.
baking at high altitudes
High altitude affects yeast doughs because the lower air pressure allows the yeast to rise 25 to 50 percent faster and the drier air makes the flour drier.
To fix this, decrease the amount of yeast in the recipe by 25% and adjust the water and flour as necessary to get a dough with the correct consistency.
Rising times are also much shorter at higher altitudes, so do not go by rising times, but by sight.
You can also give the dough one extra rise by punching it down twice before forming it.
Or, if you want to slow the rise down, you can cover the dough and place it in the refrigerator for its first rise, giving the dough more time to develop. However, it will rise much slower.
Adjustment for 3000 feet
- Reduce sugar: for each cup, decrease 0 to 1 tablespoon.
- Increase liquid: for each cup, add 1 to 2 tablespoons.
Adjustment for 5000 feet
- Reduce sugar: for each cup, decrease 0 to 2 tablespoons.
- Increase liquid: for each cup, add 2 to 4 tablespoons.
Adjustment for 7000+ feet
- Reduce sugar: for each cup, decrease 1 to 3 tablespoons.
- Increase liquid: for each cup, add 3 to 4 tablespoons.
Adjusting for a Convection Oven
Convection ovens blow the hot air around, producing around 25 to 30 percent more heat.
Since convection ovens produce more heat, you need either lowering the temperature or shortening the cooking time to compensate.
When recipes specify temperatures and cooking times, it's for conventional ovens, unless specified otherwise.
A simple rule to follow is to lower the temperature by 25ºF. Some convection ovens offer separate settings for baking and for roasting.
You can also leave the temperature the same and instead, shorten the cooking time by 25%.
However, keep in mind, some convection ovens actually make a heat adjustment for you. That is, if you set a convection oven for 350ºF, it might actually set itself to 325ºF to compensate. So, check your manual before making adjustments.
Troubleshooting
Even though this recipe is very easy to make, life happens and things sometimes don't go as expected.
Why is it taking longer than described to bake?
Over time, the thermostat on ovens gets a little off, causing some ovens to run hot and others to run cool. This is why recipes tend to say things like "10 to 15 minutes or until golden brown."
So, if it takes you longer than expected, that's fine. Don't worry about it. Just keep baking until ready.
Why did it come out dry?
Just like some ovens run cool, others run hot. If your oven runs hot, bake these at a lower temperature.
Ideally, you should get an oven thermometer to know what temperature you're really baking at.
Why did it burn?
If you baked it for the right amount of time, then burning is usually caused by two reasons.
The first is if you put them on the lower shelf in the oven.
The second is if the bottom of your oven has food particles that dripped onto it. Even a small bit of food that drips down could cause an oven to have problems heating properly and burn the cookies.
Why did it come out too wet?
Check your measuring cups. Sometimes measuring cups aren't accurate, and if you are using different sets of wet and dry measuring cups and measuring spoons from different brands, they may not match.
I've had sets that were a ¼ cup off.
To test your sets, fill your dry and wet measuring cups with 16 tablespoons. If 16 tablespoons doesn't fill a cup, your measuring cups are too big.
If it takes you less than 16 tablespoons to fill up a cup, your spoons are too big.
I've actually mixed and matched sets of spoons and cups that are too big because they matched each other, even if they weren't accurate.
Technically, it could also be that your cups or spoons are too small, but I haven't seen that happen before.
Something went wrong, I can't even explain it... what happened?
When this has happened to me, it's been because I overstuffed the oven.
Make sure to bake the recipe on the middle shelf in the oven, and only a normal amount at a time.
I once tried to make a bunch of brownie recipes all at once, and I think I may have had something on the bottom shelf too because I was in a rush, and it came out terrible.
I can't even describe what was wrong with it. It was just very, very wrong.
How To Freeze
Let bread cool completely.
Wrap each loaf tightly in plastic wrap and again in foil or freezer paper. Or, use a zip-top freezer bag with all of the air removed.
Freeze for up to 6 months. After that, the bread may become freezer burnt.
How to Defrost
Defrost bread in the oven at 325°F or 163°C for 20 to 30 minutes, until soft and fully thawed in the middle.
For years leftover challah bread my family would end up throwing out leftover challah bread even though we hate waste.
So, I made French Toast as my standard Sunday breakfast to solve the problem.
Best Challah
This challah is a water challah, which is particularly popular in Israel. It does not call for any eggs (except for an egg wash), but is still light and fluffy.
Ingredients
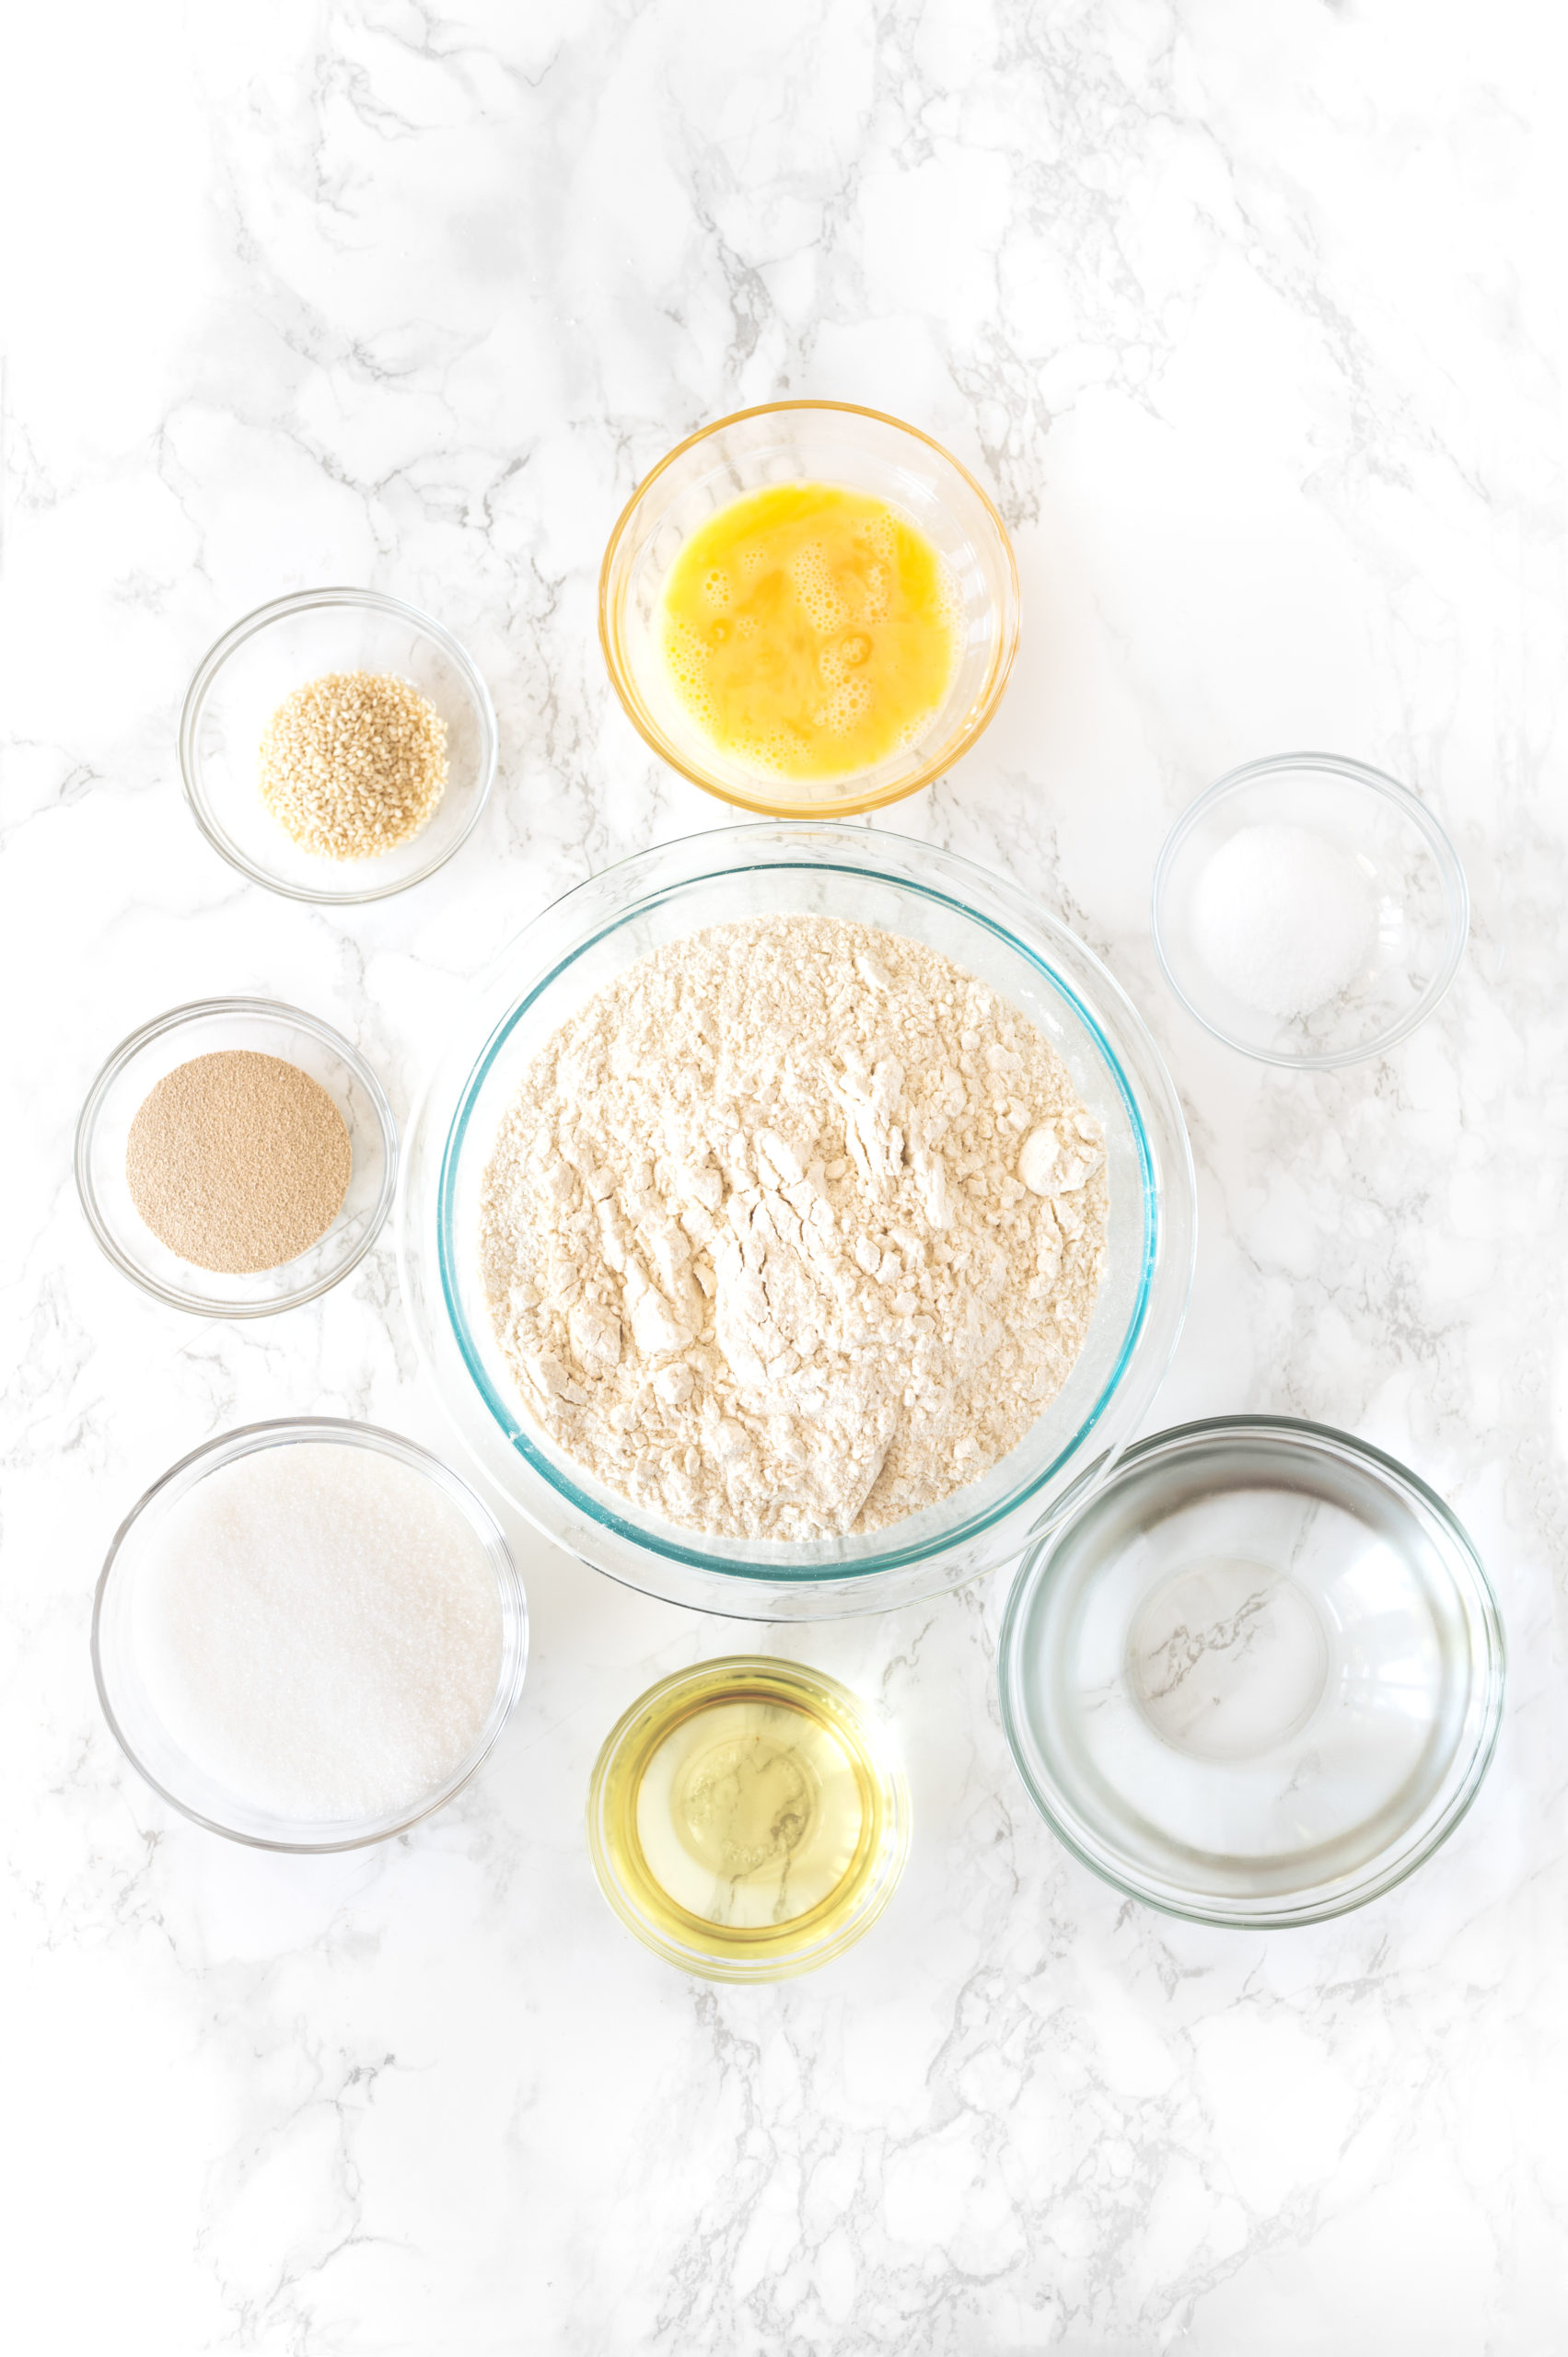
- 5 cups all-purpose flour (625 grams)
- ¾ cup white sugar (150 grams)
- ⅓ cup oil (80 milliliters)
- 5 teaspoons instant dry yeast
- 2 teaspoons salt
- 1 and ½ cup water, warm (355 milliliters)
Wash
- 1 egg, beaten
Optional Topping
- 1 tablespoon sesame seeds
Instructions
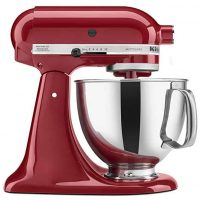
- In the bowl of a stand mixer, combine flour, sugar, oil, yeast, salt.
- Using a bread hook, knead, adding the water about a quarter cup at a time until the dough feels similar to play-doh.
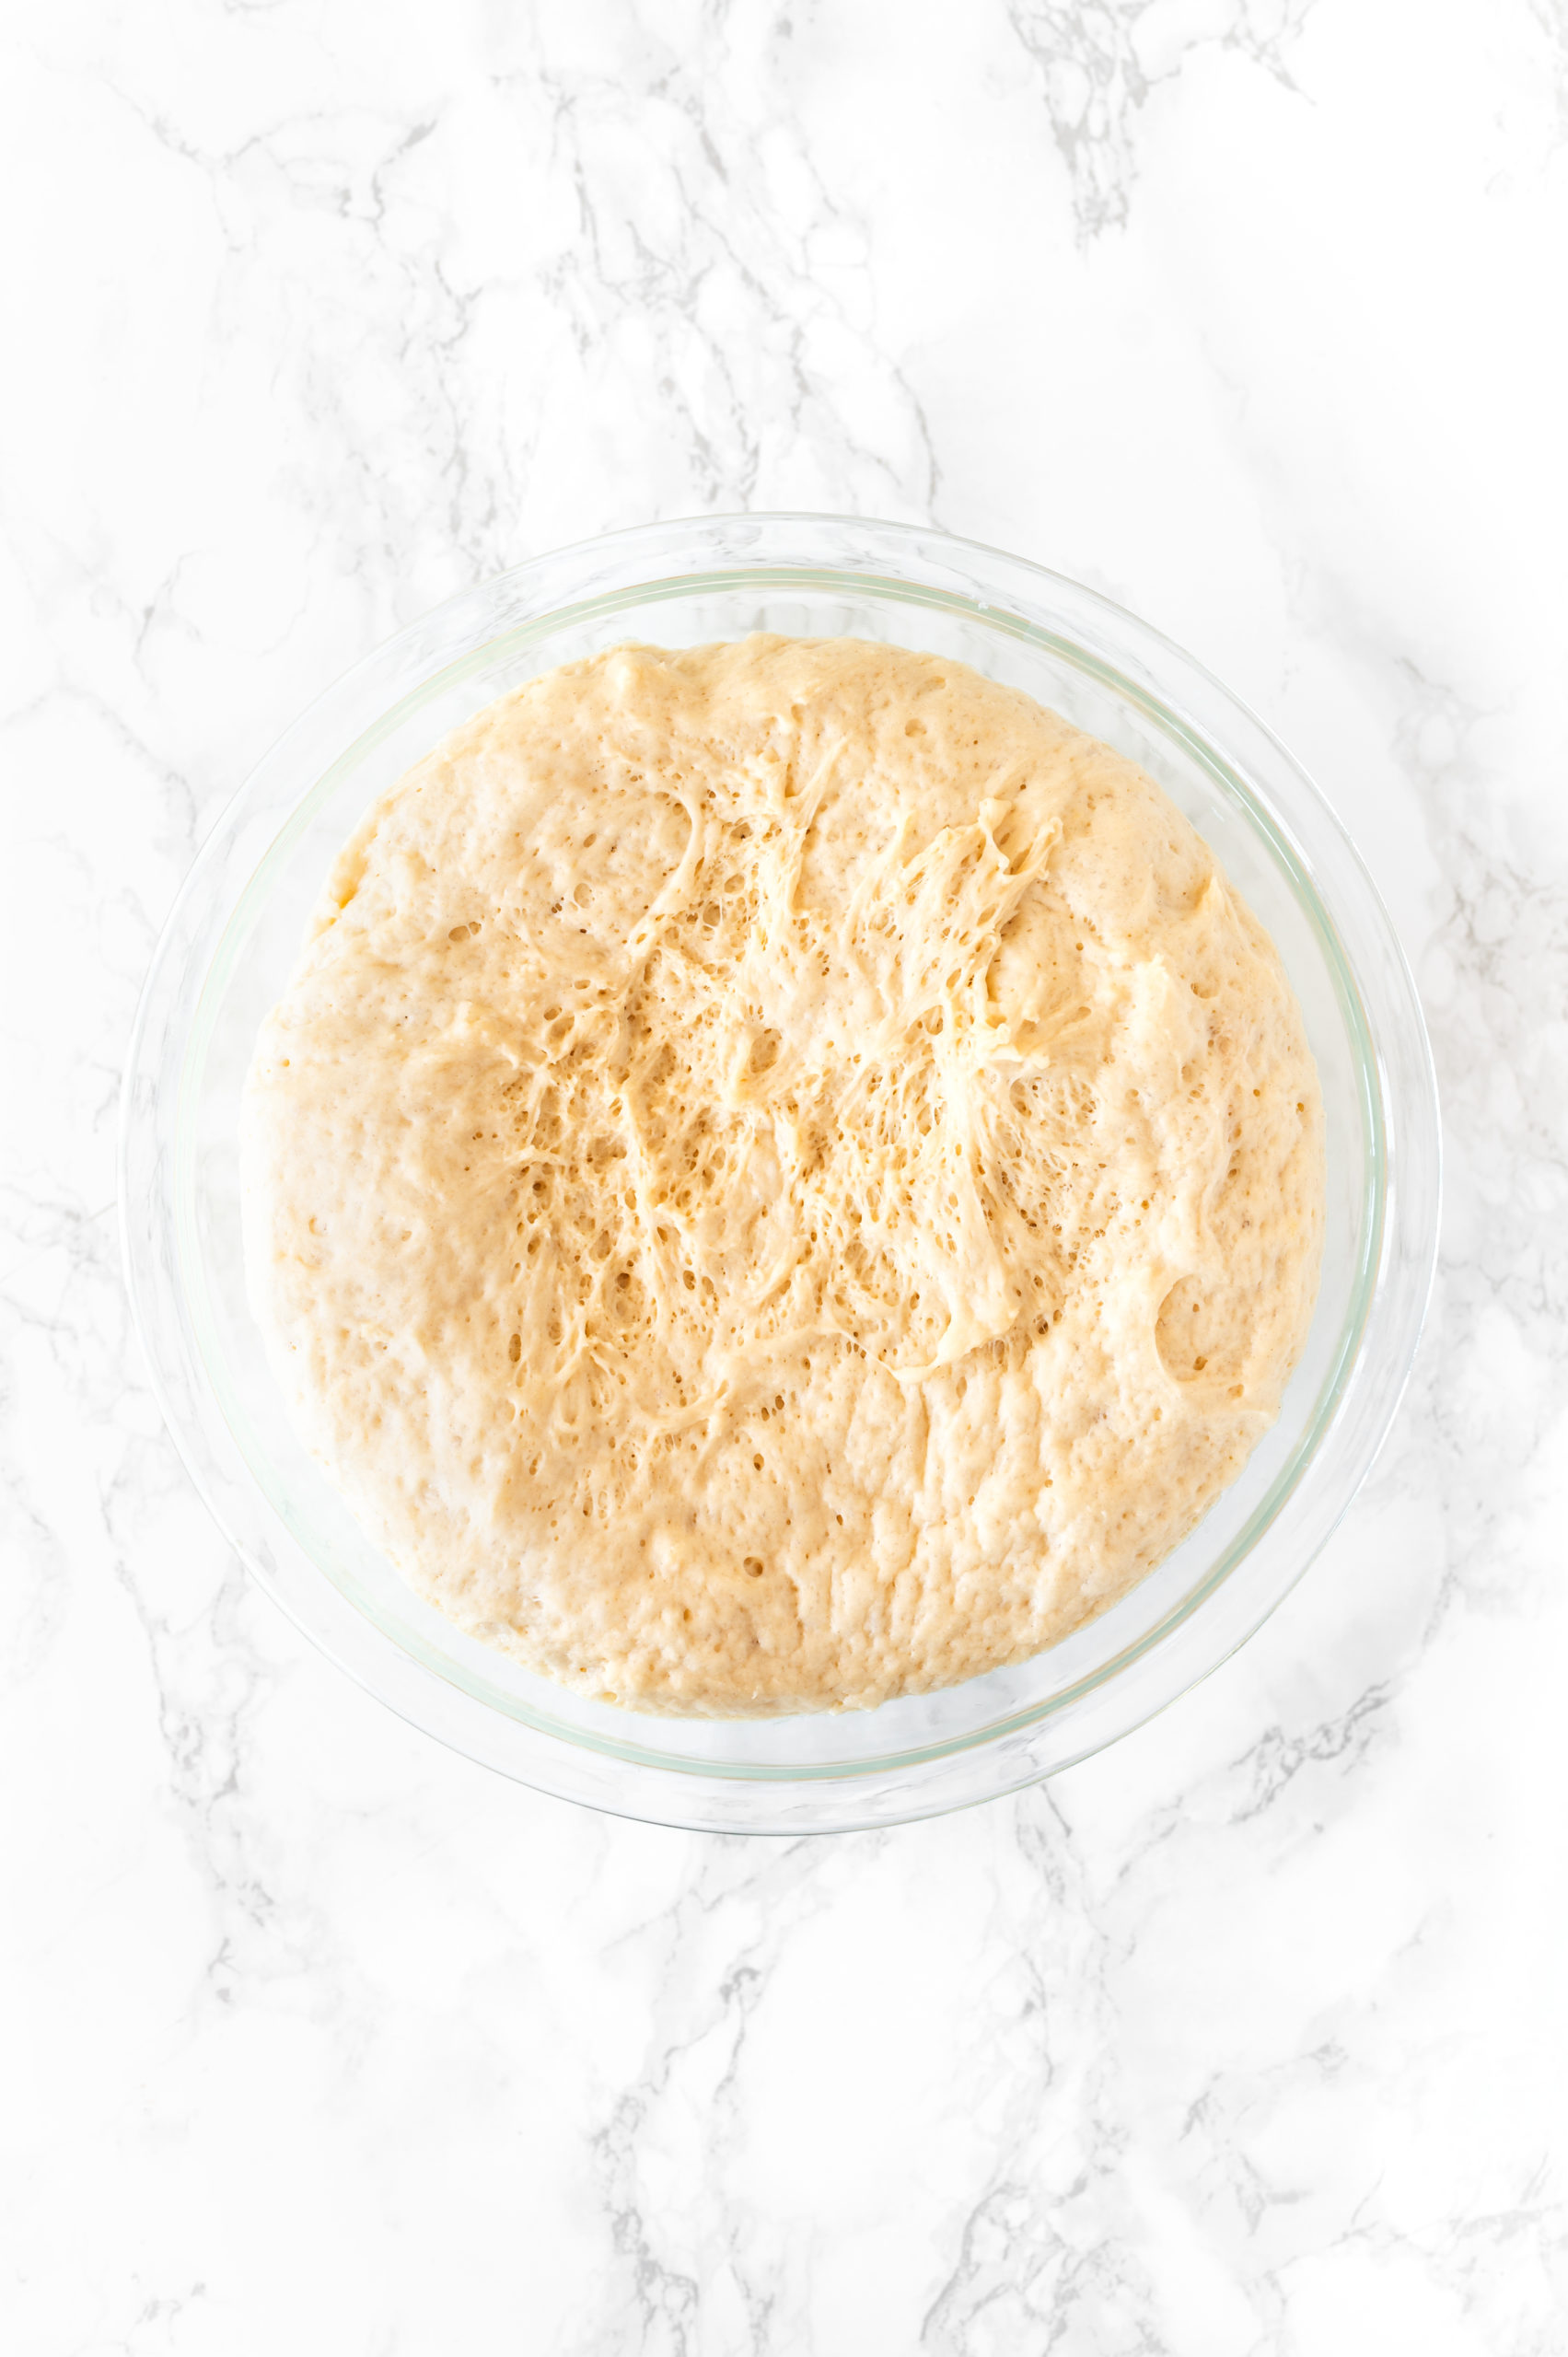
- Cover with a damp towel and set in a warm place. Let the dough rise until double in size (about 45 minutes).
- Remove the dough and divide it in half. Take one half and braid on a floured surface. Repeat with the remaining dough.
- Place both on a parchment paper lined baking sheet and brush with egg wash. Let rise until double in size (about 45 minutes).
- Add sesame seeds if desired.
- Preheat the oven to 350°F or 175°C.
- Bake for 30 to 40 minutes or until golden brown.
Recommended Products
Some of the links below are affiliate links, which means that if you choose to make a purchase, I will earn a small commission. This commission comes at no additional cost to you.
Nutrition Information:
Yield:
24Serving Size:
1Amount Per Serving: Calories: 153Total Fat: 4gSaturated Fat: 0gTrans Fat: 0gUnsaturated Fat: 3gCholesterol: 8mgSodium: 180mgCarbohydrates: 27gFiber: 1gSugar: 6gProtein: 3g

Hi, I'm ElissaBeth!
I created The Taste of Kosher to give you delicious, easy-to-make recipes you can feel proud to serve. I don't believe there are bad cooks and bakers, only bad recipes. I also believe that kosher and allergy-friendly recipes can and should taste just as good as the originals, and it's my mission to prove it.
Do you proof the yeast or mix it with other ingredients dry?
If you're using instant yeast either way works. I recommend proofing it first if you have any concerns about if the yeast is still alive. It helps with troubleshooting. But otherwise, really there is no need to proof instant yeast. If you're substituting instant yeast for dry active yeast then you'd need to proof it first.
I think you have it backwards. If you are substituting dry active yeast for instant proofing may be necessary, at least according to Fleishman. But in my experience, neither dry yeast needs proofing.
Instant yeast definitely does not require proofing, though I prefer to do it in case of troubleshooting. But you are right, in recent years they updated the formula for dry active yeast, so it only needs to be proofed unless there is a question of if it's still good or if it's older than 2015 (which is possible if it's been kept in the freezer or forgotten on a shelf unopened).
P-E-R-F-E-C-T
because this recipe uses a relatively small amount of flour, i am able to make this dough in the food processor So easy. So good. Thank you
I'm glad you enjoyed the recipe! 🙂
How much kneading time does it need in a machine? Or just until mixed?
Just until the dough feels similar to play-doh 🙂
Hi, this is my first time to your site, and I just wanted to tell you that I have already copied 3 recipes that sound so great. I wanted to tell you that you explain everything so well. Thank you so much for your site if you ever get another please let me know I am definitely going to try this one. Kudos to You
Thank you so much for your kind words! ❤️❤️❤️
Literally the best challah recipe! I make it every week!! I do add a bit of honey for some extra sweetness!
I'm so glad to hear it ❤️
Hi, just wondering, how would I divide this recipe to make rolls?
That would really depend on the size of the rolls you make and the style of rolls you choose...