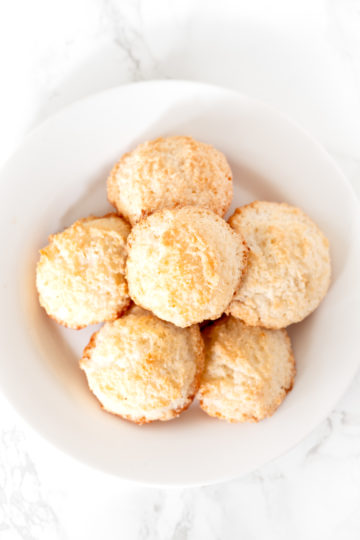
These light and fluffy drop biscuits are made without butter but are still absolutely perfect and delicious.
What is great about drop biscuits are just how quick they are to put together.
Unlike traditional biscuits, they do not need to turned into a dough and folded. This is why Fannie Farmer in the Boston Cooking School cookbook calls drop biscuits "emergency biscuits."
This makes sense given how quick and easy they are to make compared to rolled biscuits and they bake up just as soft and fluffy.
All you need to make them is about 25 minutes and a minimally stocked pantry.
This makes them also very beginner friendly for people who feel al little intimidated to make regular biscuits.
While these biscuits are made without buttermilk and without butter, they are just as delicious as the dairy version.
Eat with a spread, along side fried chicken, or smothered in sausage gravy.
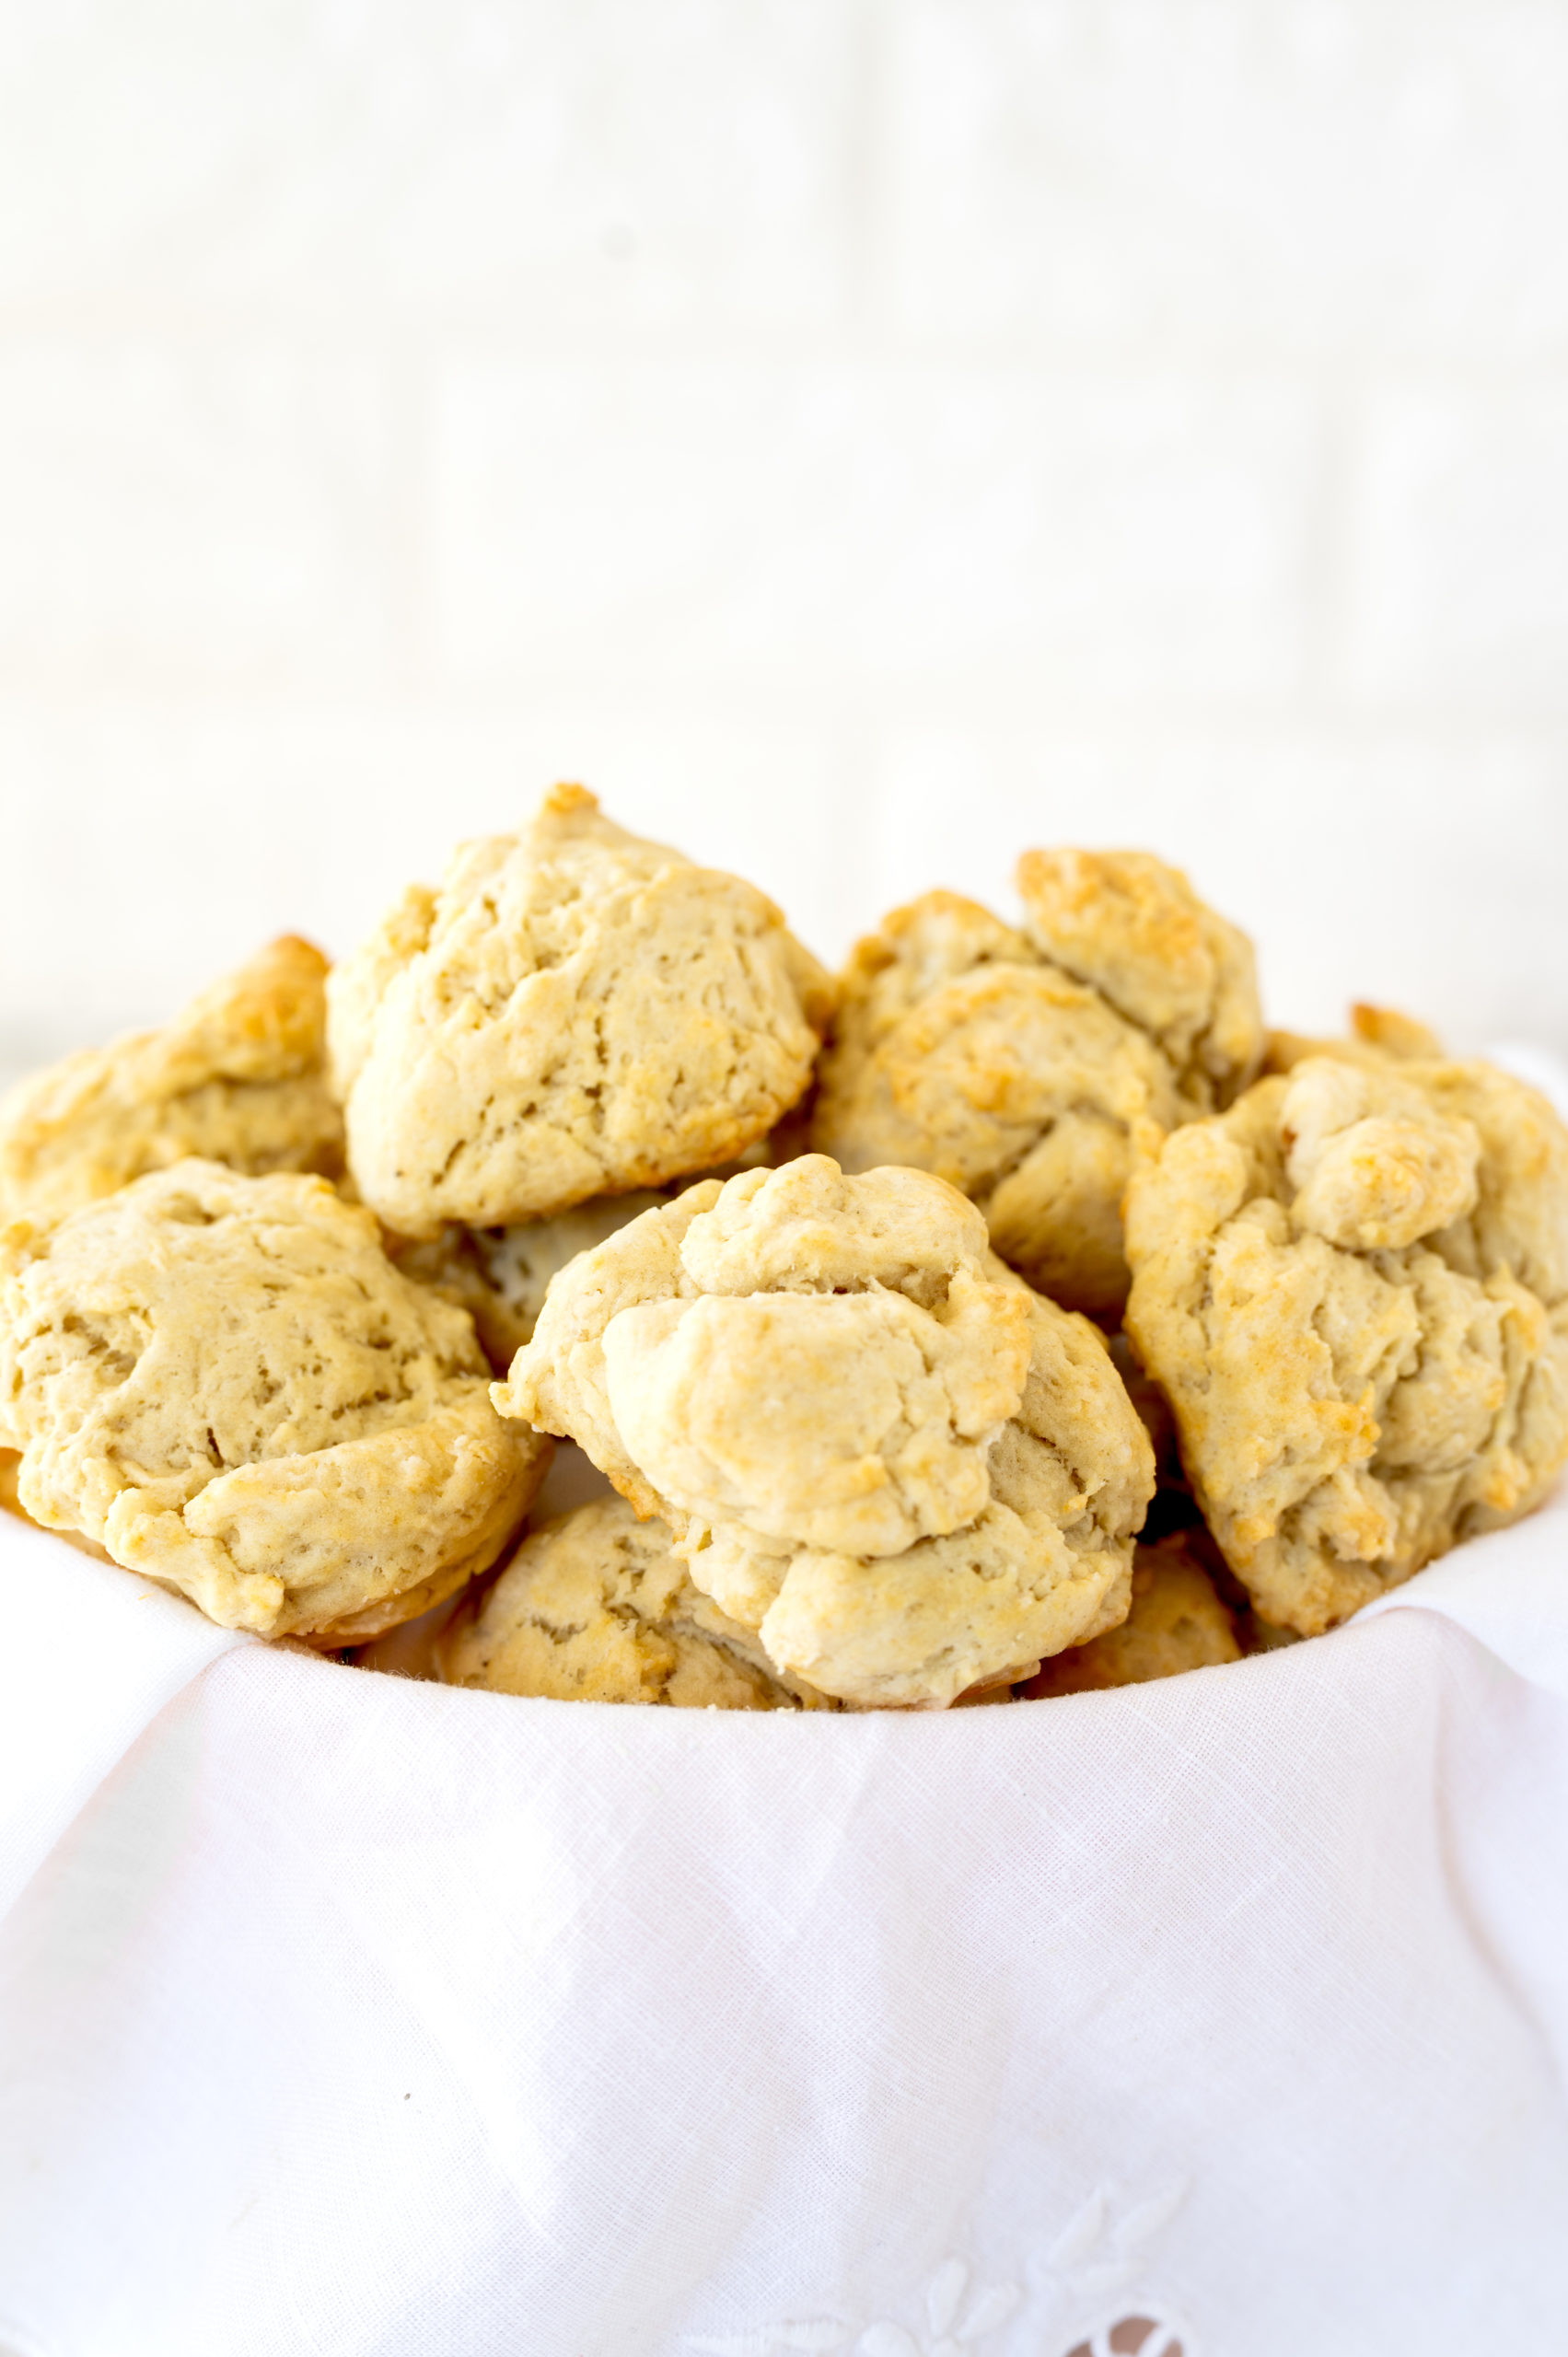
If you like these drop biscuits without butter, you may also like my dairy free biscuits which are traditional flaky biscuits.
What is a drop biscuit?
Drop biscuits are a simplified version of a rolled biscuit, where the dough is scooped into a baking sheet rather than kneaded, rolled and cut into biscuit shapes.
History of Biscuits
Early European settlers in the United States brought with them a simple, easy style of cooking. It was usually based on ground wheat and warmed with gravy as a source of cheap nutrition. This was the foundation for biscuits.
The biscuit emerged as its own food in the early 1800s as a cheap addition to meals. It had the benefit of not requiring yeast.
At this point in time, bread was made only once a week. Also, yeast was a byproduct of making beer commonly known as emptins.
So, if you lived in a city and close to a brewery you had relatively easy access to it. However, if you were not so lucky, it was difficult to attain or you had to try to make some version of it at home.
Even once panned yeast was created, by the turn of the century it was still not easy to acquire.
With due to the lack of yeast, beaten biscuits, or sea biscuits as they are known in New England, were developed. They were similar to hardtack.
These biscuits were beaten and folded to incorporate air into the dough which expanded when heated in the oven causing the biscuit to rise.
They were beaten for anywhere from 15 minutes to 45 minutes using a rolling pin, hammer, side of an ax, or handle of a musket.
These biscuits were eaten with gravy and it wasn't long before biscuits and gravy was created.
Then, with commercial baking powder becoming available in the middle of the century it made the fluffy biscuit we know today possible.
HOW TO MEASURE FLOUR AND OTHER DRY INGREDIENTS
The best way to measure dry ingredients is with a scale. However, this is not commonly done in the United States and dry measuring cups are used instead.
Lightly spoon the flour or other powdery ingredients into a dry measuring cup. Then, level off the ingredient by removing the excess with an upside-down butter knife.
Make sure not to packing it down, because can lead to using more than needed.
The exception is brown sugar. To measure it, pack it into the measuring cup and then level off any excess.
To measure chocolate chips, nuts, or dried fruit, just pour them in and then level them off.
DRY VS LIQUID MEASURING CUP
Dry measuring are a set of cups that often come with measuring spoons. Each cup is a different measurement just like each spoon is a different measurement.
Liquid measuring cups on the other hand are a cup that has measuring lines on the side to make the measurements.
The problem with using liquid measuring cups to measure dry ingredients like flour and cocoa is that they are powders. So, as you shake the cup to level them off, the powders settle and you end up with more than you need.
I tested this with a friend who didn't believe me and we ended up with a number of tablespoons more than the recipe called for.
WHY SIFT FLOUR and Other Powder Ingredients
There are a number of benefits to sifting flour and other ingredients like cocoa:
Flour is often sifted before use to aerate it and remove any lumps. This helps in achieving a lighter texture in baked goods.
Also, if you measure flour that's just been sifted, you can get a more accurate measurement than from flour that's been packed tightly in a bag.
In addition, sifting dry ingredients together, such as flour, cocoa, and baking powder, it helps make sure they're evenly dispersed.
BAKING WITH OIL
Baking with oil produces a moister and tenderer texture compared to that of baked goods made with butter.
Cakes, cupcakes, muffins, and quick breads also tend to bake up taller with a better crumb and stay moist and tender much longer than recipes made with butter.
Also, since oil weighs less than butter, baked goods made with oil have a lighter texture than those made with butter.
In addition, butter is usually only 80% fat, whereas oil is 100% fat. As a result, the water that's present in butter strengthens the gluten in the flour, making it more dense and less tender than baked goods made with oil.
Oil is often used in recipes where a lighter and airier texture is desired or in recipes that call for both oil and butter, in order to have the benefits of oil while keeping the butter flavor.
Which Type Of Oil to Use
I use neutral oils like canola oil, safflower oil, and vegetable oil. You can also use stronger oils like olive oil and coconut oil, but they may change the taste somewhat.
Is it better to use canola oil or olive oil?
Canola oil is relatively cheap and, due to its lack of flavor and high smoke point, is very versatile.
Olive oil, on the other hand, is healthier. Also, its stronger flavor makes it preferable in recipes such as focaccia, which require its distinct taste.
Baking with Oil Conversion Chart
If you want to convert your butter recipes to oil recipes, take a look at my baking with oil - butter to oil conversion chart.
How to store Oil
Store oils in a cool, dark place to prevent them from becoming rancid.
If refrigerated, some oils, like olive oil, may solidify, but will return to a liquid state at room temperature.
Coconut oil begins to solidify in temperatures under 76ºF or 25ºC.
BAKING SODA VS BAKING POWDER
Both baking soda and baking powder are leavening agents, which means that they help baked goods rise. However, they're not the same thing and they are not interchangeable.
Using baking soda instead of baking powder can give your recipe a terrible metallic taste, while using baking powder instead of baking soda leaves your baked goods looking flat.
BAKING SODA
When baking soda (also known as sodium bicarbonate) is combined with acidic ingredients and exposed to heat, it causes batter or dough rise and contributes to their light and fluffy texture.
However, baking soda is a versatile ingredient. It can be sprinkled over meat to tenderize it and it can be added to tomato sauce to neutralize the acidity.
Baking soda, when combined with an acid - such as cream of tartar, lemon juice, buttermilk, cocoa, and vinegar - creates carbon dioxide. When the carbon dioxide is released, it causes the familiar texture and crumb in pancakes, cakes, quick breads, soda bread, and other baked and fried foods.
A good rule of thumb is to use around ¼ teaspoon of baking soda per 1 cup of flour.
BAKING POWDER
Baking powder is created by combining baking soda, cream of tartar, and sometimes cornstarch.
Since baking powder already contains an acid, it's most often used when a recipe does not call for an additional acidic ingredient or calls for too little of one.
There are two types of baking powder. Single-acting baking powder and double-acting baking power.
Single-acting baking powder gets activated only once - when it gets wet.
Most baking powder sold is double-acting. This means that the leavening occurs in two steps.
The first is when the baking powder gets wet, which is why you cannot prepare some batters ahead of time to bake later. The second step is when the baking powder is exposed to heat, which happens when the batter is baked or fried.
A good rule of thumb is to use around 1 teaspoon of baking powder per 1 cup of flour.
WHY SOME RECIPES CALL FOR BOTH
Some recipes use both baking soda and baking powder because they need extra leavening that the baking soda alone cannot provide.
In these cases, baking soda provides an initial lift, while baking powder provides additional rise.
WHICH ONE IS STRONGER?
You may have already guessed the answer since baking soda is used to make baking powder and you need more baking powder per cup of flour. But I'll tell you anyway.
Baking soda is four times stronger than baking powder.
That's why you will, more often than not, see recipes that only call for baking soda rather than recipes that only call for baking powder.
HOW LONG DO THEY LAST?
BAKING SODA
Baking soda is good indefinitely past its best by date, although it can lose potency over time.
A good rule of thumb is two years for an unopened package and six months for an opened package.
However, to be honest, I've used very old baking soda with good results.
BAKING POWDER
Like baking soda, baking powder is good indefinitely past its best by date, and can lose its potency over time.
For both opened and unopened, it's ideal to use it within nine months to a year.
While storing it, make sure to keep it in a dry place and away from humidity.
HOW TO TEST IF IT'S STILL GOOD
BAKING POWDER
To test baking powder, pour 3 tablespoons of warm water into a small bowl, add ½ teaspoon of baking powder, and stir.
If the baking powder is good to use, it should fizz a little.
BAKING SODA
To test baking soda, pour 3 tablespoons of white distilled vinegar into a small bowl, add ½ teaspoon of baking soda, and stir.
The mixture should rapidly bubble if the soda is fresh.
BAKING AT HIGH ALTITUDES
The higher the altitude, the lower the air pressure and the more difficult it is to bake recipes.
Increase by 15 to 25°F or 8 to 14°C. Since leavening and evaporation happen more quickly, the higher temperature helps set the structure of baked goods before they over-expand and dry out.
However, baking at higher temperatures means products are done sooner, so decrease by 5-8 minutes per 30 minutes of baking time.
Adjustment for 3000 feet
- Reduce baking powder: for each teaspoon, decrease ⅛ teaspoon.
- Reduce sugar: for each cup, decrease 0 to 1 tablespoon.
- Increase liquid: for each cup, add 1 to 2 tablespoons.
Adjustment for 5000 feet
- Reduce baking powder: for each teaspoon, decrease ⅛ to ¼ teaspoon.
- Reduce sugar: for each cup, decrease 0 to 2 tablespoons.
- Increase liquid: for each cup, add 2 to 4 tablespoons.
Adjustment for 7000+ feet
- Reduce baking powder: for each teaspoon, decrease ¼ teaspoon.
- Reduce sugar: for each cup, decrease 1 to 3 tablespoons.
- Increase liquid: for each cup, add 3 to 4 tablespoons.
Baking with Humidity
Humidity can have a big impact on how your baked goods come out.
This is because when humidity is extremely high (think 70 percent or more), baking ingredients like flour, sugar, salt, baking powder, and baking soda soak up moisture from the air.
This can negatively impact the outcome of your cakes, cookies, yeast breads, and quick breads.
There are some things you can do to try to save your baking.
Try to counterbalance the additional moisture
To help counterbalance the additional moisture your dry ingredients soak up from the air, try reducing the amount of liquid in the recipe by about one quarter.
If the batter or dough looks too dry once all the ingredients are mixed together, add additional liquid a tablespoon at a time until you have the desired consistency.
This is not usually possible to do for cookies, but it does work for cakes and breads.
Store Ingredients in the Fridge
If flour and sugar are stored in the refrigerator or freezer rather than in a cupboard or pantry, they are better protected from humidity.
As an added benefit, keeping these ingredients cool also helps keep them fresher longer, in addition to helping them stay bug-free.
For the best results, let them warm to room temperature before using.
Bake for Longer
If you bake your goodies for a few extra minutes, it can help the liquid to cook off.
To avoid overbaking, continue testing for doneness every couple of minutes for breads, quick breads, cakes, cupcakes, and muffins. Cookies, on the other hand, need to be checked every minute.
Use Air Conditioning
To help lower humidity levels on humid summer days, air condition the room for at least an hour before you start baking.
Cooler air isn't able to hold as much moisture as warm air.
Store your baked goods in an airtight container
Humidity can also ruin your fresh-baked goods because when they are left out, they can absorb moisture.
To avoid this, store them in an airtight container or resealable bag.
How to store biscuits at room temperature
Allow the biscuits to cool completely on the baking sheet or wire rack. Then, cover individual biscuits with heavy duty aluminum foil or plastic wrap. Store in a cool and dry place.
You can also store them in an airtight container or a resealable plastic bag. However, they may not store as well.
Store for 1 to 2 days.
How to store biscuits in the refrigerator
Allow the biscuits to cool completely on the baking sheet or wire rack. Then, cover individual biscuits with heavy duty aluminum foil or plastic wrap.
Store for up to a week.
Can You Freeze Biscuits?
Yes. Let baked biscuits sit on a wire rack until completely cool. Then, wrap each biscuit tightly in heavy-duty foil or freezer wrap and store in a gallon-sized freezer bag or airtight container.
They can be stored in the freezer for 2-3 months. After that they are still safe to eat but the quality begins to degrade.
How to Reheat Frozen Biscuits
To reheat previously-baked biscuits, transfer the frozen biscuits to a parchment-lined baking sheet and bake in a 350°F or 175ºC oven for 15-20 minutes.
To prevent the biscuits from over-browning, lay a sheet of foil over the frozen biscuits.
Biscuits Without Butter
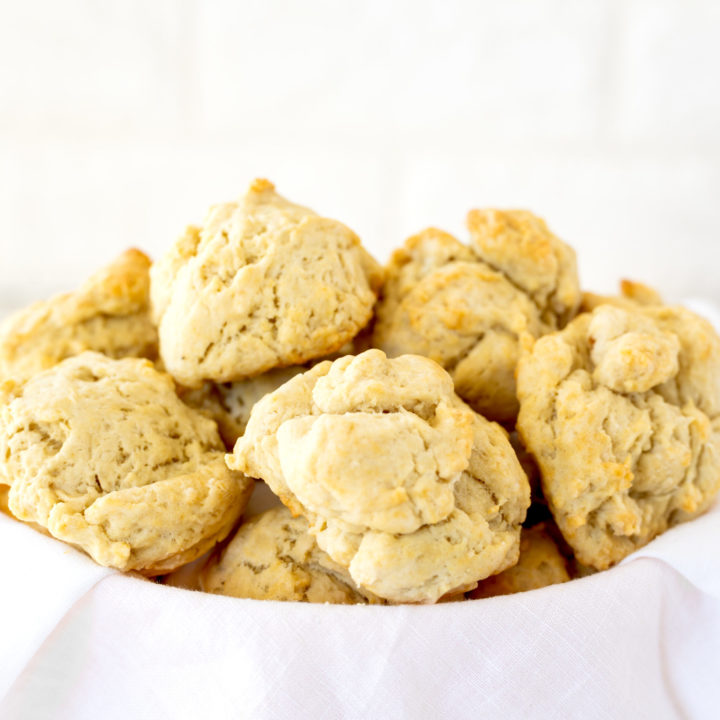
These light and fluffy drop biscuits are made without butter and are completely dairy free.
Ingredients
- 2 cups all purpose flour
- 1 tablespoon baking powder
- 1 teaspoon sugar
- ½ teaspoon salt
- ½ teaspoon garlic powder
- ¾ cup water
- 6 tablespoons oil
Instructions
- Preheat oven to 425 degrees.
- In a large bowl whisk together the flour, baking powder, sugar, salt, and garlic powder.
- Stir water and oil just until moistened.
- Drop the batter by heaping tablespoons onto a large baking sheet with non-stick cooking spray or parchment paper.
- Bake for 9-11 minutes until golden.
Nutrition Information:
Yield:
18Serving Size:
1Amount Per Serving: Calories: 93Total Fat: 5gSaturated Fat: 0gTrans Fat: 0gUnsaturated Fat: 4gCholesterol: 0mgSodium: 141mgCarbohydrates: 11gFiber: 0gSugar: 0gProtein: 1g