I started a food blog while in grad school and it was the best decision I ever made! I now have my own business doing something I love and get to work my own hours from anywhere in the world including the comfort of my own bed.
What really amazed me how easy it was to start a food blog. It really doesn't take much time, effort to get set up, or investment to get set up and I'll walk you through all of it.
The main and most important steps to starting a food blog are:
- Choosing a name
- Picking a host
- Reserve the name on social media
- Install WordPress
- Choose a WordPress theme
- Install Google Analytics
- Install Plugins
- Start an email list
- Create a Pinterest account
- Keyword research tools
- Joining a Community
Some of the links below are affiliate links, which means that if you choose to make a purchase, I will earn a small commission at no additional cost to you. 10% of all profits are donated to charity.
How to Start a Food Blog
Instructions
- Choose a Name
Picking a name is the first thing you need to do to start a blog because without it you can’t get a domain or a host. A domain name is your website name and a web host is the company where your website runs from.
Sit down and make a list of three to five potential names for your food blog. They should be easy to spell and ideally somewhat memorable. I also like having it somewhat related to my niche so people know what they are getting, but that isn’t a must.
The reason I suggest picking so many is just in case your first or even your second choice names are already taken. - Pick a Host
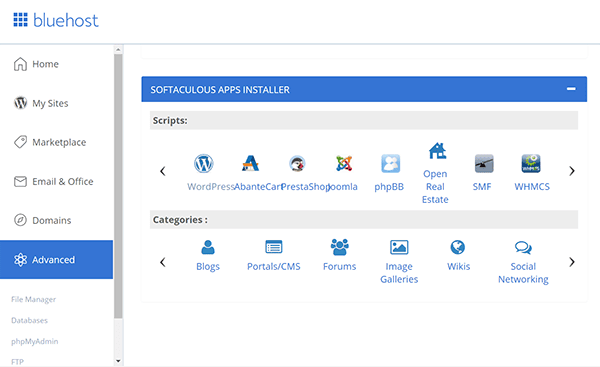
There are a bunch of hosts out there and each one gives a number of options. I use Bluehost because it came highly recommended and gives the best start up deal.
Also, customer service is important to me. So far whenever I’ve tried to contact Bluehost by phone or chat I’ve never had trouble reaching them.
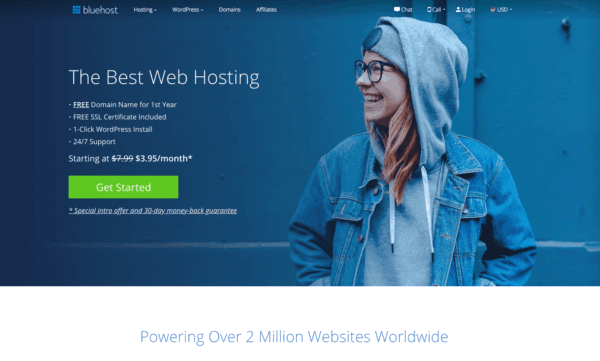
Click here to check them out and pay only $3.95 a month instead of $7.99 a month. - Reserve the name on social media
Reserve your name on social media. When blogging it is important to have a presence on social media. It is useful to reserve the name on medias you’re not even sure you will be using just in case. - Install WordPress
You want to install wordpress.org not wordpress.com. WordPress.com is a host where wordpress.org is a platform. I know this is a lot to take in, but really you get used to it very quickly.
WordPress as a platform means that it works with your host to give you an easy set up so you don’t need to know web design. I studied web design in college and now, using wordpress, I rarely if ever have to bother writing code by hand.
With Bluehost installing wordperss is as simple as a click of a button. Then you’re ready to go.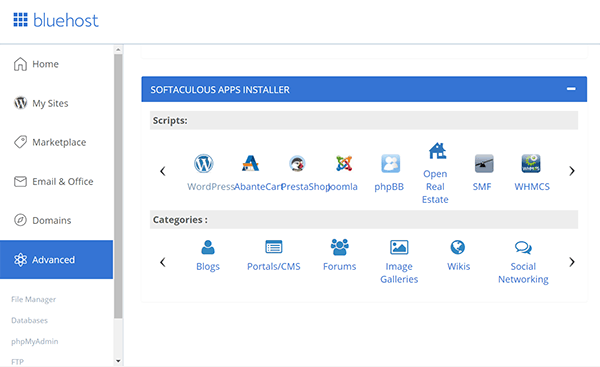
- Choose a WordPress theme
A wordpress them is what gives you the design of your website. There are free themes and paid themes.
I started out with a free theme and did hours upon hours of custom coding to change the theme to look the way I wanted it to. This is one of my biggest regrets for when I started my blog. It was such a waste of time!
For a food blog I recommend Foodie Pro Theme. This is the most popular food blogger theme because it is easy to customize and it runs on genesis (you don’t need to worry about what that is but its a good thing) the theme is always kept up to date.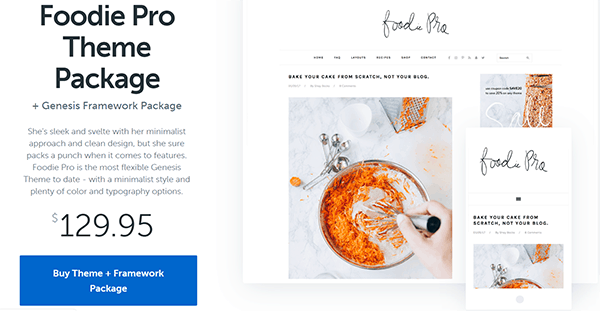
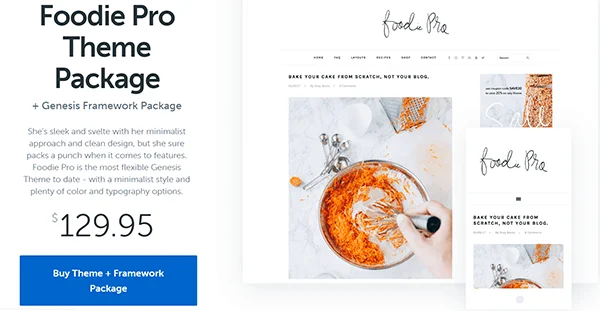
$129.95 may sound like a lot, or it may not, but for me it was more than worth the price. It made my website look very professional and with little effort. - Install Google Analytics
Google Analytics keeps track of traffic to your site. This is necessary for applying to most ad networks to show them you meet there requirements. It is also important for the ad networks to calculate your income.
Technically, you can add google analytics later however it is inspiring to see how far you’ve come. Also, it allows you to compare your traffic now to another point in time to accurately gauge growth.
What I love most about this is that at any time, from anywhere in the world, I can check how many people are on my site and which pages. I also love that it shows me my most popular posts so I can use that information to my benefit. - Install Plugins
Plugins are essentially apps for wordpress. They add on to your blog helpful features that make your life easier and improve your blog.
These are the plugins I feel are a must for every blogger:
YOAST SEO is helpful for search engine optimization. What this means is it helps you make sure your post is up to Googles search engine standards. This makes it easier for google to find your post and rank it.
SHORT PIXEL IMAGE OPTIMIZER optimizes your images so they use they look as good but use less pixels. This puts less of a demand on your website when loading.
AUTOPTIMIZE helps your site load as faster. Google and your readers both really like sites that load quickly.
CREATE BY MEDIAVINE is a recipe plugin by the ad network Mediavine. By using it your recipes gets created in a way that google can read. It also has useful features like stars for ranking, a nutrition chart, a print recipe button, and more.
TASTY PINS is the only plugin on the list that isn’t free but it’s worth it. It’s only $29 per year and you don’t decide to renew your subscription you just don’t get updates
Tasty Pins makes your posts very Pinterest friendly. It allows you to choose which pin will be pinned, it gives you a box to write you Pinterest description, and it puts a pin button on all your post images unless you mark them not to be.
In short, it optimizes your posts for Pinterst which is essential. Pinterest is usually a blogs second to largest source of traffic. Google being the first.
AKISMET ANTI-SPAM is a great little plugin to delete spam comments before you even see them.
SOCIAL WARFARE is a plugin that helps with social media. It adds buttons to your posts and keeps track of your shares. You can also opt to have it share your numbers for social proof.
UPDRAFTPLUS backs up all your posts and restores them if they somehow get deleted. I also use a second plugin called Duplicator for this.
Having two plugins gives extra security in case one happens to be buggy and not do it’s job.
WP LIMIT LOGIN ATTEMPTS is used for security. It limits the amount of attempts someone has to try to log into your account before they are locked out completely.
WORDFENCE SECURITY is an anti-virus, firewall, and malware scanner. - Start an email list
An email list is an essential part of blogging. Your email list is the only form of contact with your audience that is just yours.
Google, Pinterest, and social medias change their algorithms regularly. Sometimes this could lead to a surge in traffic other times it may lead to a drop in traffic.
With your email list you are never dependent on an algorithm. Instead, you can speak to your subscribers directly and as little or often as you want.
It is most common to write to your subscribers once a week to let them know whats new on your blog. - Create a Pinterest account
As mentioned before, Pinterest is an important part of blogging. As opposed to popular belief Pinterest is not a social media. It is a search engine.
Create an account and make ten boards related to the topics you will be addressing. If you already have a board make anything irrelevant private and change your name to that of your blog.
As you create content you will be pin it to whatever relevant boards. It is okay to repin things you’ve already pinned.
It will be a little hard to pin consistently in the beginning without feeling spammy because you won’t have much to share. However, as your content grows it will be easy to pin regularly. - Keyword research tools
Keyword research allows you to best decide how to name your blog. You want names that are not so popular you have a shot at ranking. However, you don’t want names that are rarely if ever searched because they won’t bring you traffic.
Keyword research tools help you see how many search any given word or combination of words have.
I’ve used both keywordseverywhere and keywords surfer with good results. - Joining a Community
While you don’t have to join a community, it is definitely helpful, especially in the early stages of food blogging. Having a community means having people to go to with questions and resources available to you so you don’t have to go it alone.
While I opted to do about 100 hours of research on my own (no joke, if anything it’s an understatement) instead of joining a community, I’ve heard amazing things about Food Blogger Pro’s community.
If you’re interested, you should Sign up for Food Blogger Pro. They have both a monthly and annual membership option. You also get a 60 day money back grantee, so you’ve covered.
Despite not being a part of their membership community, when I was a new food blogger I was an avid Food Blogger Pro PodcastBlogger Pro Podcast listener. And if nothing else, check out their 10 Mistakes that Bloggers Make – Free eBook! I promise they won’t spam your email. I only occasionally get emails from them.
Other Resources
The most important thing other than a good recipe for a food blog is a good food photography. No one wants to eat something that doesn't look appetizing and no ones going to want to make something they won't want to eat.
There are just a few things you need to make your photos look incredible!
Camera
You a DSLR camera is a food blogger's best friend! A DSLR is a semi-professional camera where you can switch the lens as needed. It is much better for photography than a cellphone camera or even a point and shoot.
I've taken photos with my cellphone when desperate but they can't compare to the ones taken with a Nikon D3600.
Lens
A good camera isn't helpful as anything more than a paperweight without a lens. Which lens you use is everything. You can use the kit lens, though I've never tried, instead I have the Nikon 35mm.
Food photography book
Food photography can be a lot to take in for a new blogger but it is her most important tool. That is why I recommend Tasty Food Photography that was written by a food blogger for food bloggers. It simply and clearly explains what you need to know.
Photoshop
I attribute most if not all of my success as a food blogger to Photoshop. In it I fix lighting, discoloration due to tinting (many of my photos come out tinted blue or yellow), and over all make the food really shine.
I said it before and I'll say it again, people aren't going to try to make a recipe on a blog if the photo doesn't look appetizing.
Tripod
A tripod isn't a must but it is very helpful. My early photos are taken without one but as soon as I got one I realized everything I had been missing. It just makes life so much easier!
While I'm sure there high end expensive tripods so far my I have an Amazon basic tripod has worked great for my needs.