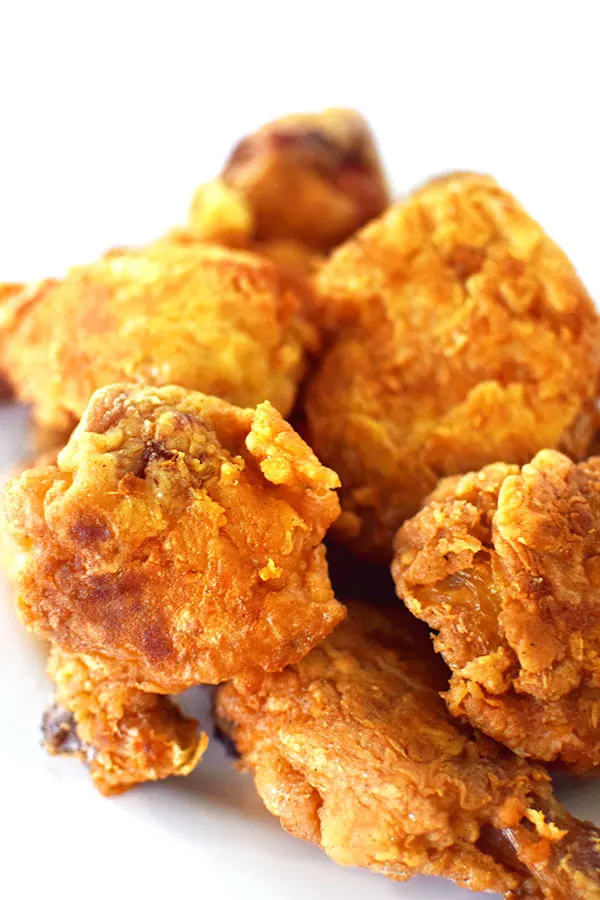
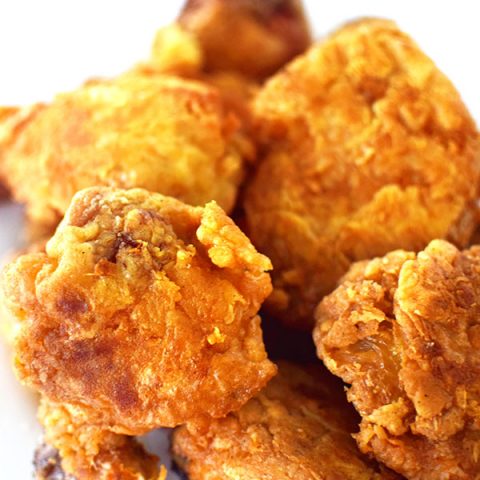
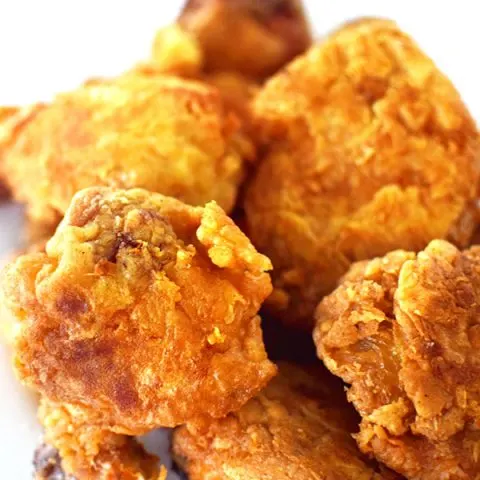
This fried chicken is made without eggs and has a wonderfully crispy crust! It is also highly customizable by adding whatever spices you want.

How to serve fried chicken
Serve it with a side of mashed potatoes and gravy, cornbread and green beans, corn, coleslaw, or collard greens for a good old southern meal.
Fried chicken is commonly eaten with mashed potatoes and gravy or country gravy.
Another common sides is biscuits, like my buttermilk biscuits without buttermilk.
Cornbread is also a popular side for fried chicken. Cornbread muffins and cornbread without buttermilk are delicious options.
As for veggies: green beans, black eyed peas, okra, corn, collared greens, or coleslaw are all eaten alongside fried chicken.
Extra Crispy Fried Chicken
If you want your fried chicken extra crispy, you can make the crispiest fried chicken by using half flour half cornstarch.
While cornstarch is primarily used as a thickening ingredient, but it’s also the secret ingredient for getting crispy coatings.
When paired with all-purpose flour, cornstarch helps prevent gluten development, which makes the flour coating crispier.
Korean and Japanese fried chicken tend to use solely cornstarch or potato starch.
If you don't have cornstarch on hand, feel free to replace it with more all-purpose flour.
A Word on Oil
When frying chicken, the temperature of the oil is important. If it's too cold, the chicken will be oily. On the other hand, if the oil is too hot, the crust will fall off.
When using a cooking thermometer, the oil should be about 350°F or 175°C to 375°F or 190°C degrees.
If you don't have a thermometer: when the oil seems hot, drop a little flour into the oil. If the flour sizzles and floats on the top, it's hot enough.
To make sure it's not too hot, keep it around medium-low and adjust as needed.
Gluten Free Option
For a gluten-free alternative, use cornstarch or potato starch instead of flour. They both fry very nicely.
IS KOSHER CHICKEN BETTER?
Kosher animals are kept in better conditions than non-kosher animals due to strict kosher health requirements of the animals.
Also, the salting process used as part of the process of making meat kosher is similar to dry brining, and therefore produces a better quality meat.
While I’ve only eaten kosher meat so I cannot compare, I’ve been told by non-Jews who do not keep kosher that they’ve noticed that kosher chicken is of superior quality to cook with.
SHOULD YOU WASH CHICKEN?
According to the USDA, you should not wash meat or poultry, since water can splash bacteria up to 3 feet surrounding your sink.
A study done by Drexel University shows that it is best to move meat and poultry directly from package to pan. The heat from cooking will get rid of any bacteria that may be present.
HOW CAN I CLEAN MY CHICKEN WITHOUT WASHING IT?
If you want to clean your chicken without washing it, wipe it down with a wet paper towel.
Just make sure the paper towel doesn't touch anything else and to toss the paper towel right away.
HOW TO DEFROST CHICKEN
IN THE FRIDGE
Defrosting chicken in the fridge is the most highly recommended.
To do this, place the frozen chicken in a pan and let it thaw. Oftentimes, when chicken thaws, it releases liquids that can leak onto your fridge, so the pan is really helpful.
Chicken typically takes a full day to thaw. Once thawed, it can remain in the refrigerator for a day or two before cooking.
IN COLD WATER
Defrosting chicken in water should take two to three hours.
Submerge your sealed chicken in a pot or bowl full of cold water. Change out the water every 30 minutes or so.
Do not hot use water because it can start cooking your chicken.
Can you cook FROZEN chicken?
According to the USDA, you can cook frozen chicken. It will take 50% longer to cook, but it’s an option.
You should also cook it on a roasting rack or over vegetables so that the heat can circulate around the chicken.
CAN YOU REFREEZE RAW CHICKEN?
According to the USDA, “food thawed in the refrigerator is safe to refreeze without cooking.” However, you do lose quality when refreezing previously defrosted meat.
Every time you defrost meat, it loses moisture as it thaws, which also leads to a loss in flavor. To compensate for this, marinate the chicken to add more flavor and juice.
The USDA also says not to “refreeze any foods left outside the refrigerator longer than 2 hours; 1 hour in temperatures above 90°F.”
SHOULD YOU BRINE?
Brining actually doesn’t do anything to help poultry. In fact, it makes it soggy rather than juicy, with watered-down flavor.
Aromatic brines and stock don’t help with flavor either. This is because the salt pulls water molecules in, leaving most of the flavor behind.
DRY BRINING
A dry brine, on the other hand, loosens up muscle fibers, allowing them to retain more moisture without adding any excess liquid.
Initially, the salt draws moisture out, then it dissolves in this liquid, creating a concentrated brine, which eventually gets reabsorbed. This leads to more intensely flavored results.
An added benefit is that it also requires less space and mess than a water brine. Not to mention the fact that it allows for crispier skin.
CAN YOU DRY BRINE KOSHER chicken?
Food experts are often under the impression that kosher meat and poultry cannot be brined and dry brined.
This is because of the koshering process, which involves salting the meat. However, the process is not nearly as long as the dry brining process, and unlike a dry brine, the poultry is soaked to remove the salt.
So, since the process is different than a dry brine, it is fine and even recommended to dry brine kosher poultry and meat.
How do you dry brine chicken?
Begin by patting the chicken with paper towels. This will help the salt adhere to the chicken.
Grab pinches of kosher salt and sprinkle it over the chicken until the chicken is generously salted and evenly coated.
Place the dry-brined chicken on a rack or a plate and refrigerate it. Refrigerate chicken pieces for at least 1 hour, skinless pieces for 30 minutes to 1 hour or up to about 12 hours, and a whole chicken for 8-24 hours.
Once the waiting period is up, there is no need to rinse off the chicken. Just cook it as usual.
Can you make fried chicken ahead of time?
Yes, you can make fried chicken up to 4 days ahead of time. Then, simply reheat shortly before you're ready to eat it.
HOW TO STORE Fried Chicken
Place cooled fried chicken in an airtight container or wrap in heavy-duty aluminum foil or plastic wrap. Store in the fridge for up to 4 days.
HOW TO FREEZE Fried Chicken
Freeze fried chicken within 3-4 days of it being made. Place cooled chicken in an airtight container or resealable freezer bag.
Freeze for up to 4 months. After that, it is still safe to eat, but the quality begins to degrade.
HOW TO REHEAT Fried Chicken
For best results, heat fried chicken in the oven or easy fryer. The fryer gives the best results, but it is also more likely to break the crust exterior.
Fried Chicken without Eggs
This fried chicken is made without buttermilk or eggs and it's highly customizable so you can add whatever spices like!
Ingredients
- 3 pounds drumsticks or thighs
- ½ cup all-purpose flour
- ½ cup cornstarch
- 1 tablespoon salt
- ½ tablespoon baking powder
- 1 cup water
Instructions
- Whisk together flour, cornstarch, salt, baking powder. Slowly whisk in water. Whisk until smooth.
- Fill a deep skillet with 1-inch of oil and heat. You know the oil is ready when you throw some flour into it and it sizzles or when it reaches 350°F or 175°C.
- Take a piece of chicken dip it in the batter. Let any excess drip back into the bowl and then place the piece in the skillet for frying. Repeat with other pieces until the pan is full but not crowded. Fry the chicken in batches to avoid crowded.
- Lower the flame to medium or medium-high. Fry for about 15-18 minutes, turning over each piece about half way through. Fry until golden brown.
- Remove and place on a cooling rack and let sit for 5 minutes before serving.
Notes
This recipe used to include ½ a teaspoon of pepper but I think it tastes better without it so I removed it. Feel free to add whatever seasoning you enjoy.
Recommended Products
Some of the links below are affiliate links, which means that if you choose to make a purchase, I will earn a small commission. This commission comes at no additional cost to you.

Nutrition Information:
Yield:
4Serving Size:
1Amount Per Serving: Calories: 699Total Fat: 27gSaturated Fat: 8gTrans Fat: 0gUnsaturated Fat: 16gCholesterol: 467mgSodium: 2686mgCarbohydrates: 36gFiber: 1gSugar: 0gProtein: 72g
Jeffrey
Monday 27th of January 2025
You failed to include the type of oil you're using for this recipe!
ElissaBeth
Wednesday 29th of January 2025
It doesn't really matter as long as it's a neutral flavored cooking oil.