
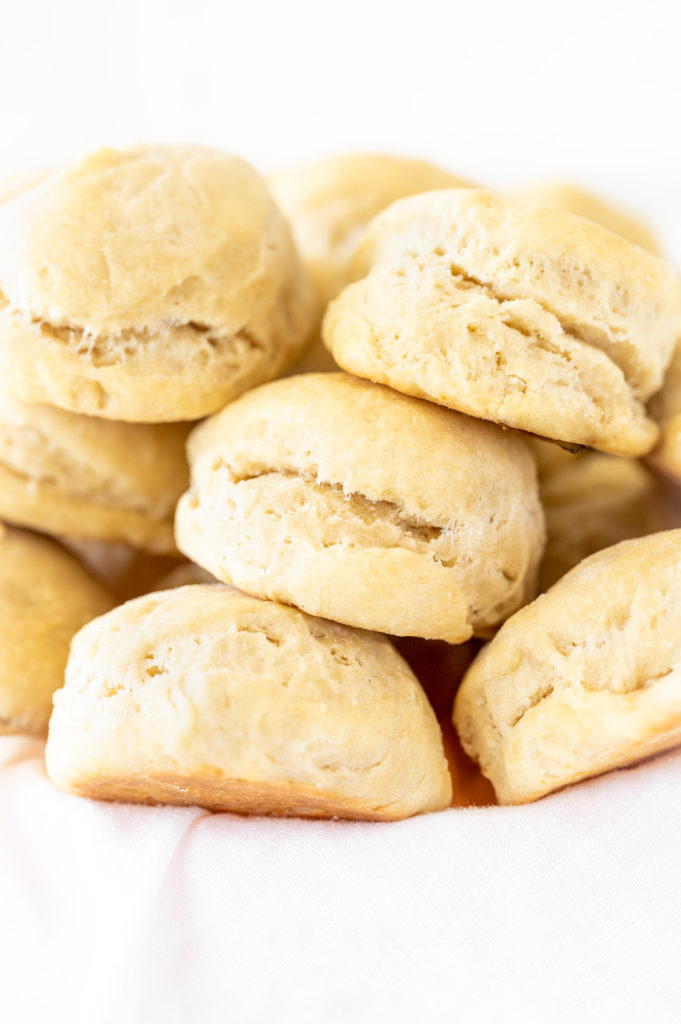
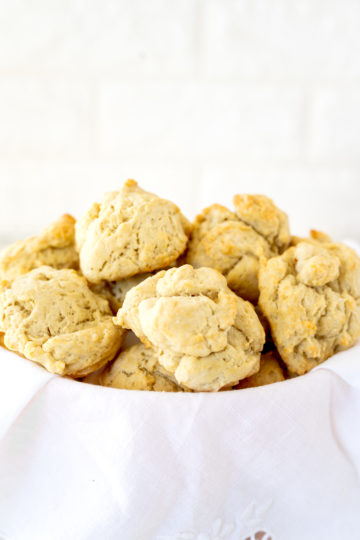
These dairy free biscuits are everything you want in a homemade biscuit! They're soft, fluffy, flaky, and crumbly on the inside.
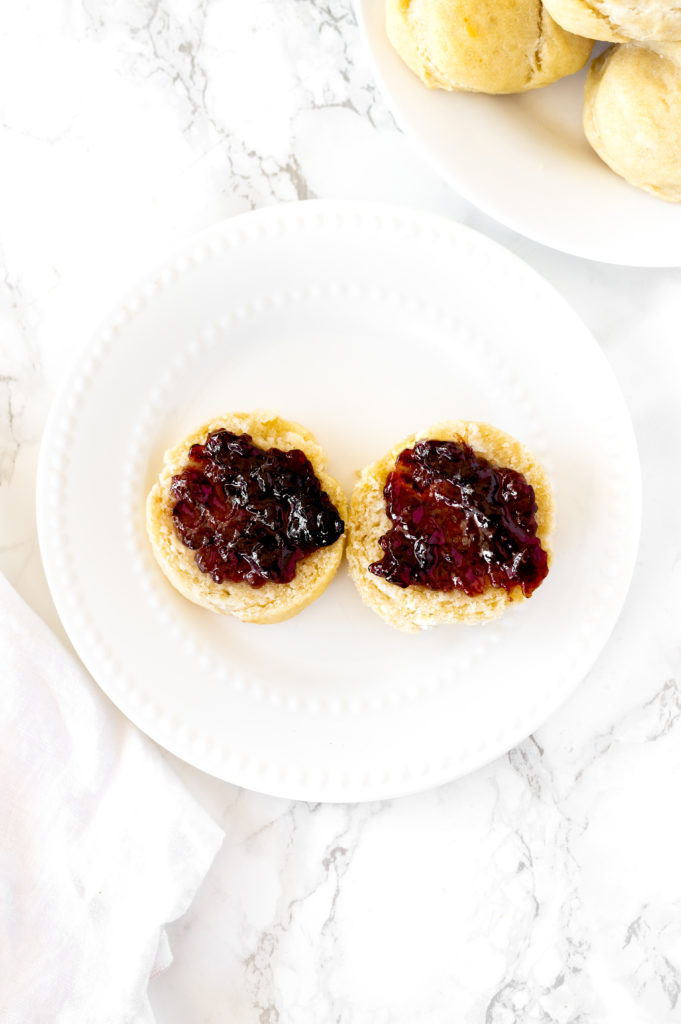
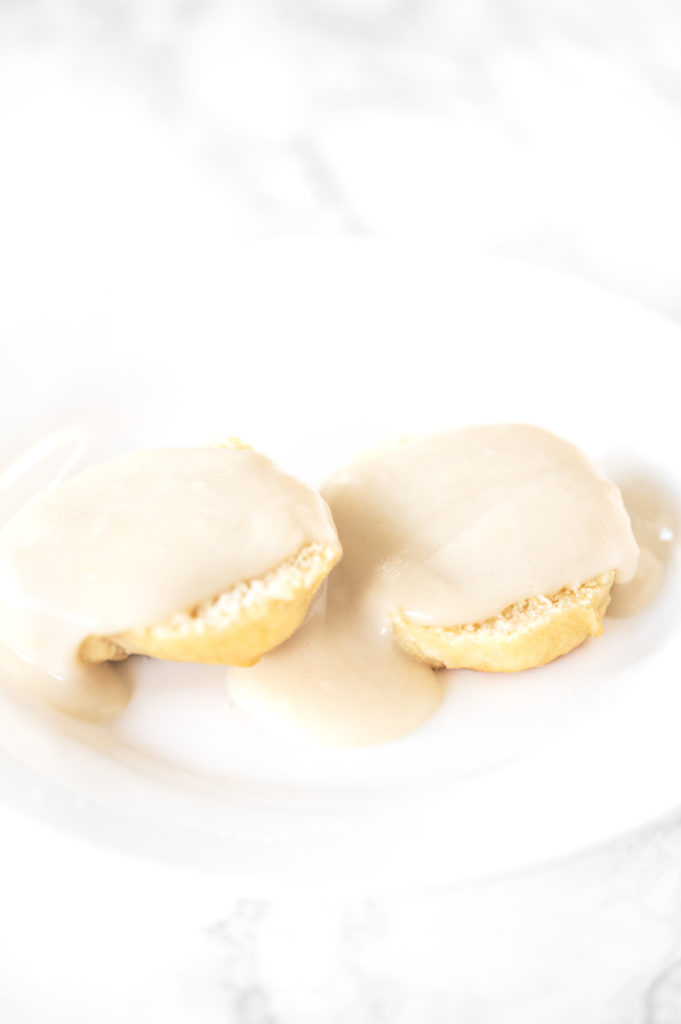
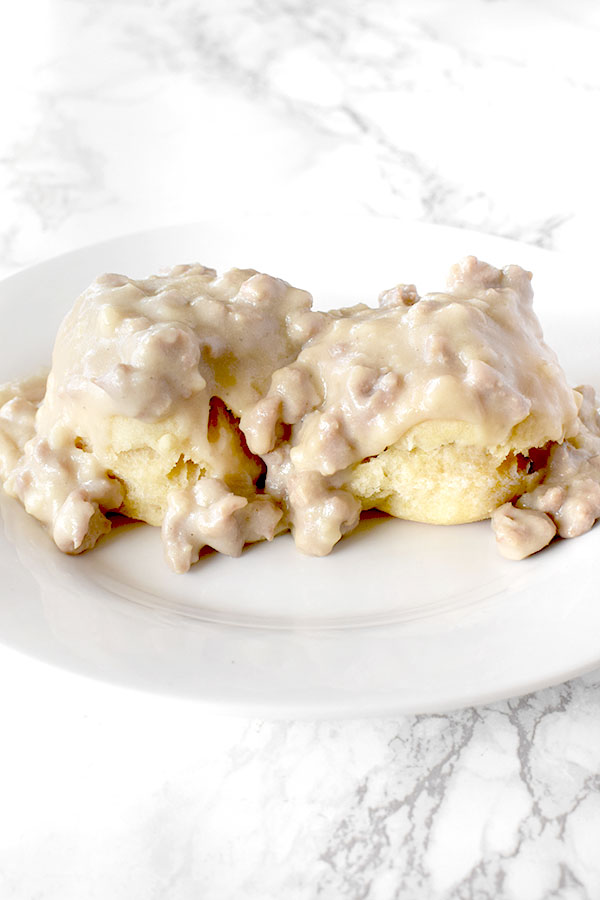
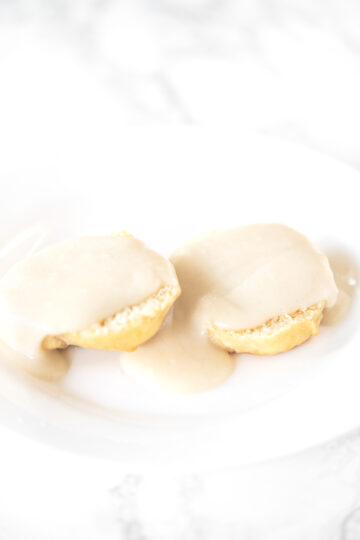
These biscuits are wonderful warm right out of the oven, and perfect to make biscuits and gravy.
Despite the fact that they use oil instead of butter, they're still beautifully flaky.
It took me a few tries, but I figured out the trick to getting picture perfect biscuits!
Originally I was using a cup to cut the biscuits with dough that was under an inch tall, so they came out small and kind of flat and not picture perfect.
But then, I tried it while making the dough 1-inch tall and using a 3-inch wide round cookie cutter.
Then they came out perfect!
⭐⭐⭐⭐⭐
"These biscuits are so easy to make and delicious. I have doubled the recipe with excellent results too. I originally tried the recipe due to a family member with a dairy allergy, but this has become my go to biscuit recipe. I highly recommend it."
Linda
Jump to:
- How to Measure Flour and Other Dry Ingredients
- Why Does This Recipe Use Oil?
- Which Type Of Oil should i use?
- What kind of sugar should I use?
- Can I use baking soda and baking powder interchangeably?
- Baking at high altitudes
- Adjusting for a Convection Oven
- Recipe Tip
- How to store at room temperature
- How to store in the refrigerator
- how to freeze
- How to Reheat Frozen Biscuits
- Can You Freeze Biscuit Dough?
- How to Bake Frozen Biscuit Dough
- Pair with
- Other recipes you may like
- Dairy Free Biscuits
How to Measure Flour and Other Dry Ingredients
The best way to measure dry ingredients is with a scale, but in the United States, dry measuring cups are usually used instead.
Weighing ingredients is useful for home bakers, but it's especially important for professional bakers because they work with huge batches.
I usually use dry measuring cups when baking too, because I didn't grow up in a country that generally weighs ingredients, so please don't feel like you can't use them.
To measure most dry ingredients, first spoon them into a dry measuring cup and then level off the measuring cup with an upside-down butter knife.
Make sure not to pack it down because this will cause you to use more of the ingredient than the recipe calls for.
Brown sugar is the exception to the rule, though. To measure brown sugar, pack it into the measuring cup and then level off any excess.
To measure chocolate chips, nuts, or dried fruit, just pour them into the dry measuring cup and then level them off.
What are dry measuring cups?
Dry measuring cups are the set of cups that usually come with measuring spoons. Each cup is a different measurement, just like each spoon is a different measurement.
Liquid measuring cups, on the other hand, are the cups that usually hold more than one cup and have lines on the side that mark the measurements.
The problem with using liquid measuring cups to measure powdery dry ingredients, like flour and cocoa, is that you shake the cup to level them off. This causes the powder to settle, and you end up with more than you need.
I tested this with a friend who didn't believe me, and we ended up with a quarter cup more flour than the recipe called for.
Should I sift the flour and other dry ingredients?
It's usually recommended to sift your powdery ingredients, like flour and cocoa, before using them.
Sifting aerates the flour and removes any lumps, which helps make baked goods fluffier.
It also helps you get a more accurate measurement than when you use flour that's been packed tightly in a bag.
And sifting dry ingredients together, like flour, cocoa, and baking powder, helps make sure they're evenly distributed in the batter. Which honestly, I think is probably overrated, so I personally never bother with it.
Why Does This Recipe Use Oil?
Well, first and foremost is because oil is dairy free.
Also, baked goods made with oil tend to stay moist and tender longer.
Which Type Of Oil should i use?
I don't specify in the recipe which type of oil to use because it's mostly personal preference and I don't want anyone to feel they have to use specifically that type of oil. For the most part, you can use whatever oil you feel most comfortable using.
I use neutral oils like canola oil, safflower oil, and vegetable oil.
You can also use stronger oils like olive oil and coconut oil, but keep in mind that they may change the taste somewhat.
If you're going to use olive oil, use the one labeled pure olive oil because it has the mildest flavor. This should make the flavor a lot less noticeable.
Is It Better to Use Canola Oil or Olive Oil?
Canola oil is relatively cheap and, due to its lack of flavor and high smoke point, is very versatile.
Olive oil, on the other hand, is generally considered a healthier choice.
So, really, it's whatever you prefer.
How to Store Oil
Store oils in a cool, dark place to prevent them from becoming rancid.
If you store them in the fridge, some oils, like olive oil, may solidify and look strange, but don't worry, they'll return to normal at room temperature.
Coconut oil begins to solidify in temperatures under 76°F or 25°C.
What kind of sugar should I use?
You should use white granulated sugar, which is also called white sugar, granulated sugar, and table sugar.
If you live in the United Kingdom, you can use caster sugar instead.
You should not use powdered sugar, which is mostly used for dusting desserts and making frosting, icing, and glazes. But it is sometimes used to make fudge.
Can I use baking soda and baking powder interchangeably?
No. Even though baking soda and baking powder are both leavening agents that make things rise, they work differently and aren't generally interchangeable.
When baking soda (also known as sodium bicarbonate) is combined with acidic ingredients, it makes carbon dioxide. This helps batter or dough rise and gives baked goods a light, fluffy texture.
That's why baking soda is commonly used in recipes have acidic ingredients, like buttermilk, lemon juice, vinegar, or natural cocoa powder.
Baking soda is also roughly four times as powerful as baking powder, so you don't need a lot of it. Using too much can actually give your baked goods a bitter or metallic taste.
Baking soda needs enough acid to react with it, so substituting it for baking powder can leave things flat and tasting off.
Baking powder, on the other hand, is a combination of both baking soda and an acid, so it doesn't need an acidic ingredient in the recipe to create carbon dioxide.
This makes baking powder useful in recipes that don't have enough acidic ingredients to activate baking soda. For example, it's commonly used in recipes like matzo balls and biscuits.
Because baking powder is less powerful than baking soda, recipes generally call for more of it. So, if you try to use baking soda instead of baking powder, the texture won't come out right and the flavor will probably taste disgusting.
Why do some recipes call for both?
Some recipes use both baking soda and baking powder because they do slightly different things.
For example, my chocolate cake has enough acid for baking soda to react with it, but if you'd use enough baking soda to give the cake the lift it need, it would ruin the flavor and you'd have to throw the cake out.
So, instead of adding more baking soda, the recipe uses baking powder to give additional rise.
How can I tell if baking soda and baking powder are still good?
Both baking powder and baking soda can continue to be used well past their best by dates, but they become less potent over time and can eventually stop working altogether.
To test baking soda, pour 3 tablespoons of white distilled vinegar into a small bowl, add ½ teaspoon of baking soda, and stir. The mixture should rapidly bubble if the baking soda is still active.
To test baking powder, pour 3 tablespoons of warm water into a small bowl, add ½ teaspoon of baking powder, and stir. If the baking powder is still active, it should fizz.
Baking at high altitudes
The higher the altitude, the lower the air pressure and the more difficult it is to bake recipes.
Increase by 15 to 25°F or 8 to 14°C. Since leavening and evaporation happen more quickly, the higher temperature helps set the structure of baked goods before they over-expand and dry out.
However, baking at higher temperatures means products are done sooner, so decrease by 5-8 minutes per 30 minutes of baking time.
Adjustment for 3000 feet
- Reduce baking powder: for each teaspoon, decrease ⅛ teaspoon.
- Increase liquid: for each cup, add 1 to 2 tablespoons.
Adjustment for 5000 feet
- Reduce baking powder: for each teaspoon, decrease ⅛ to ¼ teaspoon.
- Increase liquid: for each cup, add 2 to 4 tablespoons.
Adjustment for 7000+ feet
- Reduce baking powder: for each teaspoon, decrease ¼ teaspoon.
- Increase liquid: for each cup, add 3 to 4 tablespoons.
Adjusting for a Convection Oven
Convection ovens blow the hot air around, producing around 25 to 30 percent more heat.
Since convection ovens produce more heat, you need either lowering the temperature or shortening the cooking time to compensate.
When recipes specify temperatures and cooking times, it's for conventional ovens, unless specified otherwise.
A simple rule to follow is to lower the temperature by 25ºF when baking.
You can also leave the temperature the same and instead, shorten the cooking time by 25%.
However, keep in mind, some convection ovens actually make a heat adjustment for you. That is, if you set a convection oven for 350ºF, it might actually set itself to 325ºF to compensate. So, check your manual before making adjustments.
Recipe Tip
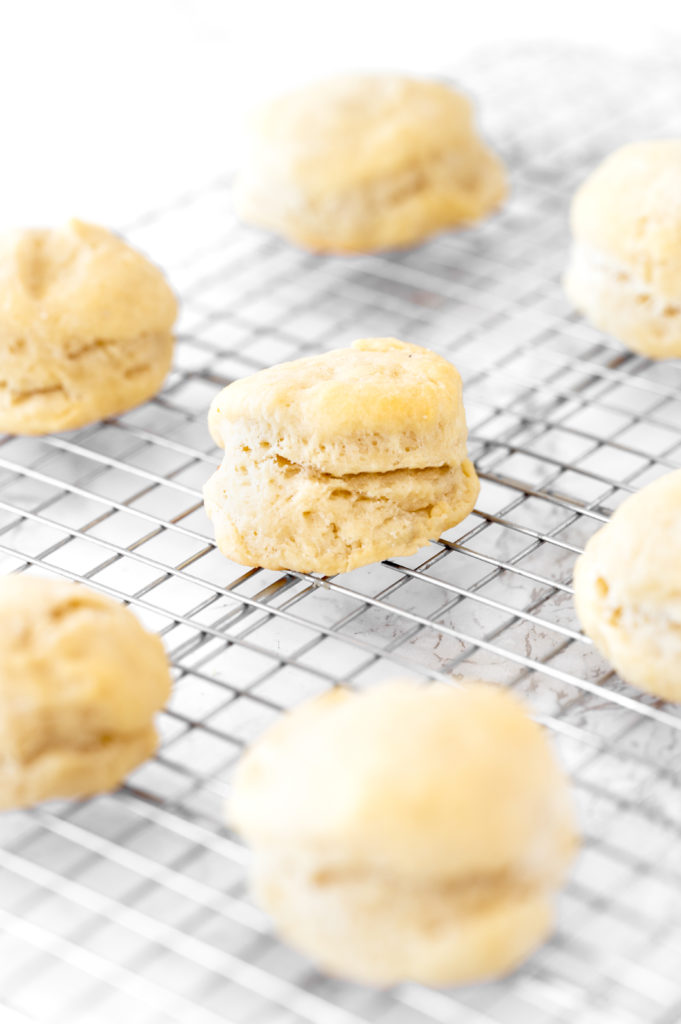
I think it's very helpful to make these biscuits on wax paper like I do my dairy free pie crust made with oil. It makes for easier cleanup and doesn't stick as much.
How to store at room temperature
Allow the biscuits to cool completely on the baking sheet or wire rack. Then, cover individual biscuits with heavy duty aluminum foil or plastic wrap. Store in a cool and dry place.
You can also store them in an airtight container or a resealable plastic bag. However, they may not store as well.
Store for 1 to 2 days.
How to store in the refrigerator
Allow the biscuits to cool completely on the baking sheet or wire rack. Then, cover individual biscuits with heavy duty aluminum foil or plastic wrap.
Store for up to a week.
how to freeze
Let baked biscuits sit on a wire rack until completely cool.
Then, wrap each biscuit tightly in heavy-duty foil or freezer wrap and store in a gallon-sized freezer bag or airtight container.
They can be stored in the freezer for 2-3 months. After that, they are still safe to eat, but the quality begins to degrade.
How to Reheat Frozen Biscuits
Transfer the frozen biscuits to a parchment-lined baking sheet and bake in a 350°F or 175ºC oven for 15-20 minutes.
To prevent the biscuits from over-browning, lay a sheet of foil over the frozen biscuits.
Can You Freeze Biscuit Dough?
Yes. After cutting out your biscuits, arrange them on a parchment-lined baking sheet. Cover the baking sheet with plastic wrap and then transfer it to your freezer. Once the biscuits are frozen, you can transfer them to a gallon-sized freezer bag or airtight container.
Store the frozen biscuit dough for up to 3 months. After that, they are still safe to eat, but the quality begins to degrade.
How to Bake Frozen Biscuit Dough
Place the frozen biscuits on a parchment-lined baking sheet. Transfer the baking sheet to a preheated 425°F or 220ºC oven and bake for 20-25 minutes.
Pair with
Other recipes you may like
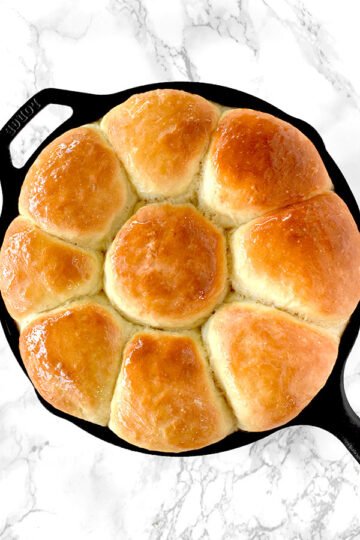
Dairy Free Biscuits
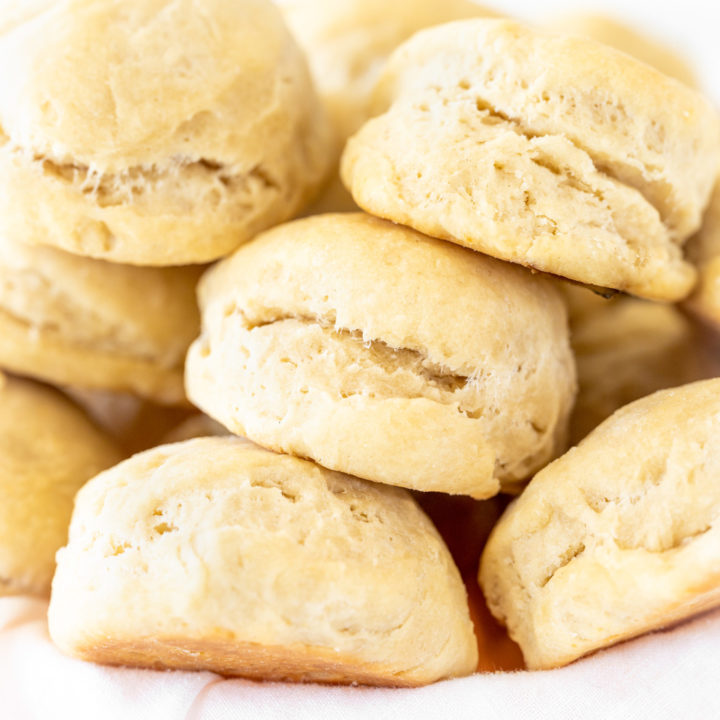
These dairy free biscuits are everything you want in a homemade biscuit! They're soft, fluffy, flaky, and crumbly on the inside.
Ingredients
- 2 cups flour (250 grams)
- 1 tablespoon sugar, optional
- 1 tablespoon baking powder
- 1 teaspoon salt
- ⅓ cup oil (80 millilitres)
- ⅔ cup water (175 millilitres)
Instructions
- Whisk flour, sugar (if desired), baking powder, and salt together in a medium size bowl.
- Add oil. Mix with a fork until crumbly.
- Add water. Mix using a rubber spatula until combined into a very wet dough. If it is too wet to come together into a dough, add more flour a little at a time until it does.
- Preheat oven to 425°F or 218°C.
- Move dough to a well floured surface. Pat the surface with flour.
- Flour your hands well and knead the dough five times by pushing the dough away from you and folding it over itself.
- Use your hands, flatten the dough to 1-inch thick.
- Cut out biscuits as close together as possible using a 3-inch biscuit cutter.
- Reshape the dough and cut again. Repeat until there is no dough left.
- Place biscuits on a parchment paper lined cookie sheet less than half an inch apart.
- Bake for 12 to 15 minutes or until tops are beginning to lightly golden brown. Remove and serve warm.
Nutrition Information:
Yield:
12Serving Size:
1Amount Per Serving: Calories: 218Total Fat: 7gSaturated Fat: 1gUnsaturated Fat: 7gSodium: 309mgCarbohydrates: 34gFiber: 1gSugar: 1gProtein: 4g

Hi, I'm ElissaBeth!
I created The Taste of Kosher to give you delicious, easy-to-make recipes you can feel proud to serve. I don't believe there are bad cooks and bakers, only bad recipes. I also believe that kosher and allergy-friendly recipes can and should taste just as good as the originals, and it's my mission to prove it.
These biscuits are beautiful! I used warm water and olive oil. I have a 1.5 yr old son who is a very picky eater so I trued making him biscuits. I made him my version before finding this recipe and used my cornbread recipe to adjust to biscuits...I only use olive oil and no eggs in my cornbread but the mad scientist in me added butter as well. BIG FAIL. (My son still gobbled them up!) The butter made them sooo heavy. In google I typed in "Does butter or olive oil make lighter biscuits & your recipe came up. Gave it a try and it was a success. Made 1 inch thick and they are fluffy & tasty! Thanks alot!!!!
You're welcome! I'm so glad you liked them 🙂
These biscuits are so easy to make and delicious. I have doubled the recipe with excellent results too. I originally tried the recipe due to a family member with a dairy allergy, but this has become my go to biscuit recipe. I highly recommend it.
Thank you for your comment! 🙂
If using water, you need to add an acid - like vinegar - to activate the baking powder to help the biscuits rise. I filled my measuring cup with just under 2/3 cup of water and then added vinegar to get to 2/3 cup of liquid. The rise was really nice! i do love the texture the oil gives them! Im making another batch today!
I'm glad you enjoyed the biscuits! Actually, since this recipe calls for baking powder instead of baking soda, the acid is already built in and reacts when the water is added and, since most baking powders are double action, it will react again when exposed to heat. The added acid does give a little extra rise though 🙂 Thanks for sharing!
Very tasty and appropriate for my dairy sensitive husband and his son. However, the nutrition Information wasn't making sense to me. I have to watch the amount of carbohydrate that I consume so I used an RDA calculator to assess it. I found the following: Nutrition Facts
Servings: 12
Amount per serving
Calories 134
% Daily Value*
Total Fat 6.3g 8%
Saturated Fat 0.8g 4%
Cholesterol 0mg 0%
Sodium 196mg 9%
Total Carbohydrate 17.5g 6%
Dietary Fiber 0.6g 2%
Total Sugars 1.1g
Protein 2.2g
Vitamin D 0mcg 0%
Calcium 58mg 4%
Iron 1mg 6%
Potassium 149mg 3%
*The % Daily Value (DV) tells you how much a nutrient in a food serving contributes to a daily diet. 2,000 calorie a day is used for general nutrition advice.
Not bad on the calories and the carbohydrates.
Best milk free biscuit recipe I've tried so far! A little too much salt for my taste buds, but could be because I skipped the sugar. Now I know for next time. Biscuits came out nice and fluffy though.
I'm glad you enjoyed them 🙂
I'm confused. Is the flour as listed supposed to be self-rising? Is that why they didn't rise?
No, self-rising flour is not required. Maybe one of your ingredients were expired or you forgot to add something.
Thank you for the awesome article. I learned a lot and feel like I could attempt several variations with confidence. Our biscuits turned out nice and flaky even though I had to substitute shortening.
You're welcome! I'm glad to hear you enjoyed it 🙂
Made exactly as stated tonight (canola oil and water) and, well, there aren't any left! Delicious. Thank you!
You're welcome! I am happy to hear that you enjoyed them 🙂
Used vegetable oil and almond milk (mostly because I had opened the almond milk for something else and wanted to use it up!). I wasn't sure if I should add the sugar or not, and wish I hadn't. I served the biscuits with a turkey stew kind of thing, and the sugar didn't need to be there. Excellent result, though! Very happy.
I'm glad you enjoyed it 🙂
made these with almond milk, and they were great. Instead of worrying about cutting rounds, pat a rectangle and cut it into 12 parts, place those on the lined cookie sheet. The square biscuits rose well and were very light!
I'm glad to hear it 🙂
@Susan Strait, This rectangular idea is so good. Thank you for saving me loads of time.
Hey I wasn’t sure what type of non dairy milk would be best of if water would be better?
I like using water but I think Oatly is a great milk alternative if you really want to use a non-dairy milk.
Hi! My daughter has just confirmed that she is allergic to casein, in most dairy products. So, I was super-excited to discover this recipe; her biggest sob was, "No more biscuits and gravy!!! WAAAAAAAAH!!!!! SAD DAY!!!" I want to surprise her!!! Question: Do you think these would make okay drop biscuits rather than rolled out? I really don't have a good surface for rolling out, but I don't want to screw them up! Thanks so much for your post, and for all the good tips you shared!! Please feel free to respond to me via email!! Yours sincerely, ~Chrissie Odeen, Black River Falls, WI
Hi Chrissie!
I've been meaning to share a recipe for drop biscuits but haven't gotten around to it yet. I tried to email you the recipe but the email keeps coming back. Are you sure you gave me the right email address?
@CS Odeen, Hello! I've been casein-sensitive for years too, and I feel your daughter's pain! Thankfully oat milk makes a great substitute in almost all cases (sweet or savory), and makes really excellent gravy! You can't taste the difference! It has the creaminess needed, but also doesn't have a strong flavor like coconut or other alternative milks. Another tip: Country Crock has come out with some really excellent plant-based butter alternatives, in both tub and stick form for easy use in recipes calling for butter. I know I'm replying months later, but I hope this helps! 🙂
The intro says it uses baking soda and baking powder, it I don’t see both in the ingredients list.
The intro explains the difference because I get that question a lot. It's not to indicate that there are both in this recipe.
@ElissaBeth, thank you, I will try with the listed ingredients. Still, here is the text I read that made me think the recipe was missing an ingredient. “FLOUR
This recipe calls for all-purpose flour, baking powder, and baking soda.”
You are completely right. I must have typed baking soda by mistake. I fixed that 🙂
Delicious! The biscuits were flaky and crumbly, but not dry. I used coconut oil, which gave them a slight coconut taste. I didn’t put enough salt in, though. They were very good with fresh fruit and would taste amazing with pan fried peaches (like an easier version of peach pie). I left out the sugar, which didn’t seem to make any difference. 5 stars!
I'm glad to hear you enjoyed them so much!
@Grace,
I was wondering if you used water or planet based milk?
@Grace, that's exactly what I'm going to do since we live where we can get fresh Palisades peaches!!
What kind of flour would you use if you are gluten free?
I am not sure what kind of gluten free flour would be good for this recipe since here you really need the gluten for it to keep its shape. If you figure it out, please let me know 🙂