This dairy free lasagna is based off of traditional Italian lasagna and is just as rich and flavorful. However, it is made without cheese, without milk, and without butter.

Lasagna is considered a special dish for Sunday dinners in Italy.
The oldest written record of lasagna dates back to 1282 in Bologna, Italy. Shortly thereafter, it appeared in a Neapolitan cookbook and used cheese curd as filling instead of meat.
Over the centuries, lasagna has developed not only into how we know it today, but also into different variations throughout Italy. However, most, if not all, of these variations call for a ragu, which is a sauce made with a meat base.
The most famous version is from Bologna. It is made of layers of green lasagna noodles, a bolognese sauce, and béchamel sauce sprinkled with cheese.
Outside of Bologna, this version is commonly known as lasagna alla bolognese.
American lasagna uses regular lasagna noodles, ricotta cheese instead of Béchamel sauce sprinkled with grated cheese, and often only ground beef instead of a mixture of meats.
While this dairy free lasagna is very close to traditional lasagna alla bolognese, it has been adapted from an authentic Italian recipe.
However, now not only is it dairy free, but it also no longer calls for homemade spinach lasagna noodles and the only meat used is ground beef.
IS KOSHER Meat BETTER?
Kosher animals are kept in better conditions than non-kosher animals due to strict kosher health requirements of the animals.
Also, the salting process used as part of the process of making meat kosher is similar to dry brining, and therefore produces a better quality meat.
While I’ve only eaten kosher meat and so I cannot compare, I’ve been told by non-Jews who do not keep kosher that they’ve noticed that kosher meat is of superior quality to cook with.
SHOULD YOU WASH Meat?
According to the USDA, you should not wash meat or poultry because water can splash bacteria up to 3 feet surrounding your sink.
A study done by Drexel University shows that it is best to move meat and poultry directly from package to pan. The heat from cooking will get rid any bacteria that may be present.
HOW CAN I CLEAN MY meat WITHOUT WASHING IT?
If you want to clean your meat without washing it, wipe it down with a wet paper towel.
Just make sure the paper towel doesn't touch anything else and to toss the paper towel right away.
HOW TO DEFROST Meat
IN THE FRIDGE
Defrosting meat in the fridge is the most highly recommended.
To do this, place the frozen meat in a pan and let it thaw. Oftentimes when meat thaws, it releases liquids that can leak onto your fridge, so the pan is really helpful.
Meat typically takes a full day to thaw. Once thawed, it can remain in the refrigerator for a day or two before cooking.
IN COLD WATER
Defrosting meat in water should take two to three hours.
Submerge your sealed meat in a pot or bowl full of cold water. Change out the water every 30 minutes or so.
Do not use hot water because it can start cooking your meat.
Can you cook FROZEN meat?
According to the USDA, you can cook frozen meat. It will take 50% longer to cook, but it’s an option.
You should also cook it on a roasting rack or over vegetables so that the heat can circulate around the meat.
IS IT SAFE TO REFREEZE RAW meat?
According to the USDA, “food thawed in the refrigerator is safe to refreeze without cooking.” However, you do lose quality when refreezing previously defrosted meat.
Every time you defrost meat, it loses moisture as it thaws, which also leads to a loss in flavor. To compensate for this, marinate the meat to add more flavor and juice.
The USDA also says not to “refreeze any foods left outside the refrigerator longer than 2 hours; 1 hour in temperatures above 90°F.”
SHOULD YOU BRINE meat?
Brining actually doesn’t do anything to help meat. In fact, it makes it soggy rather than juicy, with watered-down flavor.
Aromatic brines and stock don’t help with flavor either. This is because the salt pulls water molecules in, leaving most of the flavor behind.
DRY BRINING
A dry brine, on the other hand, loosens up muscle fibers, allowing them to retain more moisture without adding any excess liquid.
Initially, the salt draws moisture out, then it dissolves in this liquid, creating a concentrated brine, which eventually gets reabsorbed. This leads to more intensely flavored results.
An added benefit is that it also requires less space and mess than a water brine. Not to mention the fact that it allows for crispier skin.
CAN YOU DRY BRINE KOSHER MEAT?
Food experts are often under the impression that kosher meat and poultry cannot be brined or dry brined.
This is because of the koshering process, which involves salting the meat. However, the process is not nearly as long as the dry brining process, and unlike a dry brine, the meat is soaked to remove the salt.
So, since the process is different than a dry brine, it is fine and even recommended to dry brine kosher poultry and meat.
How do you dry brine meat?
Begin by patting the meat with paper towels. This will help the salt adhere to the meat.
Grab pinches of kosher salt and sprinkle it over the meat until the meat is generously salted and evenly coated.
Place the dry-brined meat on a rack or a plate and refrigerate it. Refrigerate meat for 45 minutes to 48 hours.
Once the waiting period is up, there is no need to rinse off the meat. Just cook it as usual.
Adjusting for a Convection Oven
Convection ovens blow the hot air around, producing around 25 to 30 percent more heat.
Since convection ovens produce more heat, you need either lowering the temperature or shortening the cooking time to compensate.
When recipes specify temperatures and cooking times, it’s for conventional ovens, unless specified otherwise.
A simple rule to follow is to lower the temperature by 25ºF or 14ºC when baking cookies and pies, and 50ºF or 28ºC when roasting meat and poultry. Some convection ovens offer separate settings for baking and for roasting.
You can also leave the temperature the same and instead, shorten the cooking time by 25 percent. For example, if your recipe calls for 60 minutes in the oven, check the food after 45 minutes instead.
However, keep in mind, some convection ovens actually make a heat adjustment for you. That is, if you set a convection oven for 350ºF, it might actually set itself to 325ºF to compensate. So, check your manual before making adjustments.
HOW TO STORE MEAT
Once cooled, place in an airtight container and refrigerate. Store for 3 to 4 days.
HOW TO FREEZE MEAT
Freeze leftovers within 3-4 days. Place in an airtight container or resealable freezer bag.
Freeze for up to 6 months. After that, it is still safe to eat but the quality begins to degrade.
Dairy Free Lasagna

This dairy free lasagna is based off of traditional Italian lasagna and is just as rich and flavorful. However, it is made without cheese, without milk, and without butter.
Ingredients
Bolognese Sauce
- 2 tablespoons olive oil
- 1 small onion, diced
- 1 carrot, finely chopped
- 1 celery stick, finely chopped
- 1 pound ground beef (450 grams)
- 10.5 ounces tomato puree (300 grams)
- ½ cup red wine
- Chicken stock as needed
- Salt to taste
Lasagna Noodles
- 1 box lasagna noodles or five sheets homemade noodles
- Water for boiling
Béchamel Sauce
- ¼ cup olive oil
- ½ cup flour
- 4 cups water or dairy free milk, heated
- Nutmeg to taste
- Salt to taste
Instructions
- Drizzle oil in a sauce pan and heat. When ready, sauté chopped onions, carrots, and celery for about 5 minutes.
- Add ground beef. Stir and cook until well browned.
- Deglaze with red wine. Once the wine is completely evaportated, add the tomato puree.
- Stir and let cook for two hours with the pot partially uncovered. Mix from time to time and add stock as needed.
- Cook lasagna noodles as directed on the box until al dente. Stir regularly to make sure the noodles don't stick together.
- Heat oil in a sauce pan. Whisk in flour a little at a time. Stir for about 2 minutes.
- Whisk in milk and bring to a boil.
- Lower heat. Add nutmeg and salt to taste and stir for 2 or 3 more minutes.
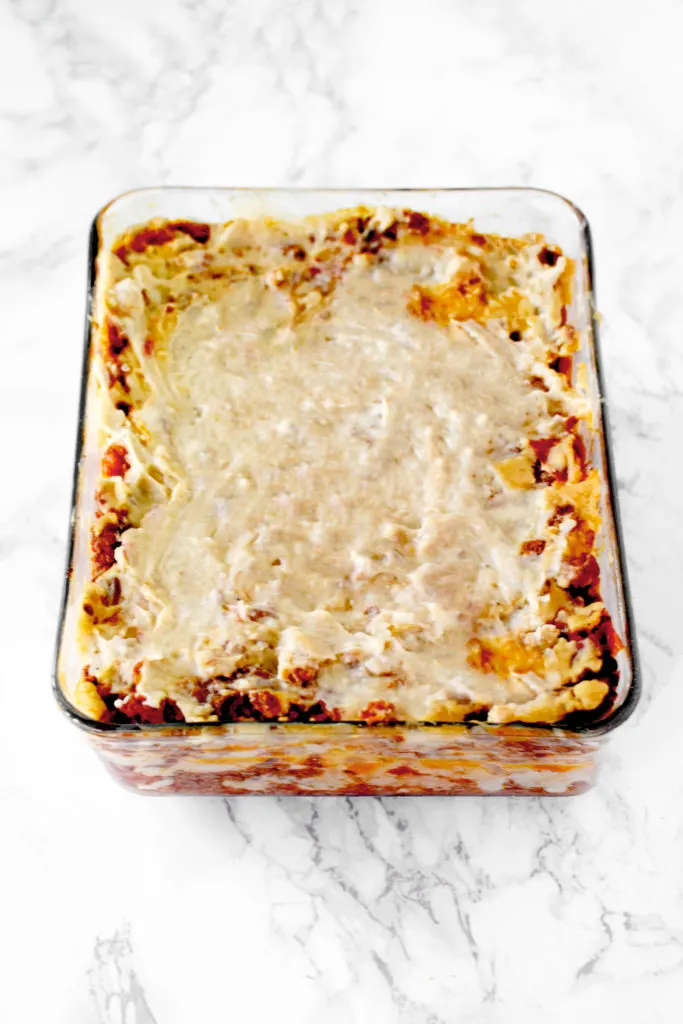
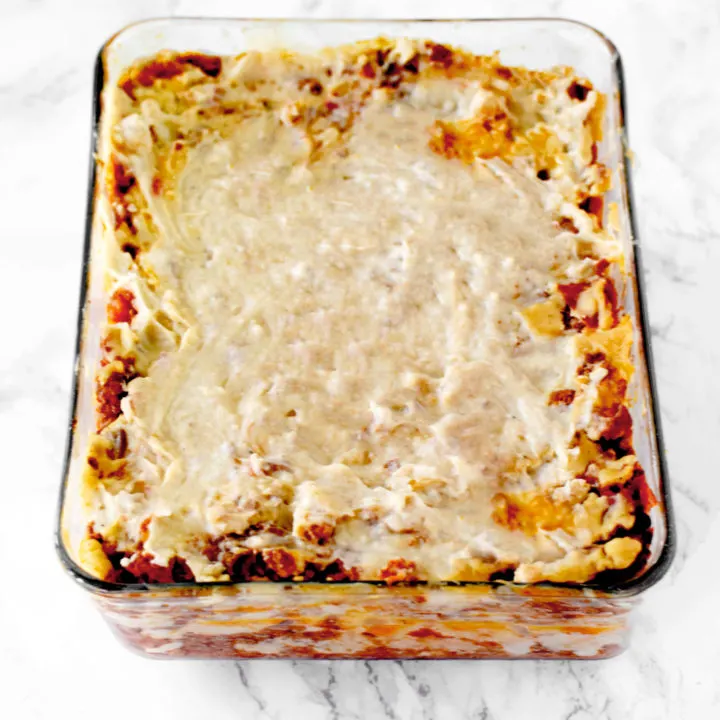
- Pour a thin layer of bechamel sauce on the bottom of a baking pan. Spoon bolognese sauce on top of it and cover that with lasagna noodles. Repeat until you have five layers.
- Bake in a preheated at 340°F or 170°C for 40 minutes.
Notes
While I kept this recipe as close to the Italian as possible, personally, I like doubling the bolognese sauce and halving the béchamel sauce.
Nutrition Information:
Yield:
8Serving Size:
1Amount Per Serving: Calories: 414Total Fat: 18gSaturated Fat: 4gTrans Fat: 0gUnsaturated Fat: 12gCholesterol: 36mgSodium: 336mgCarbohydrates: 41gFiber: 3gSugar: 3gProtein: 18g
Vicki
Sunday 8th of September 2024
I still like to layer in a little bit of cheese over the bechamel, but was thrilled to be able to eat lasagna again!
ElissaBeth
Monday 9th of September 2024
I'm so happy to hear it ❤️
Monday 18th of July 2022
Can I leave out the red wine
Tomas
Thursday 3rd of August 2023
Balsamic vinegar us good replacement. Remember that it's more concentrated.
ElissaBeth
Tuesday 26th of July 2022
Yes, if you want to