Chicken wing stock is easy to make, doesn't require weeks of collecting bones, has a delicious flavor, and provides a silky body.
Stock is usually made from leftover bones from cutting up a whole roasted chicken, carcasses or backs from cutting up a whole raw chicken, and other odds and ends, like wing tips.
It is pretty much a tasty and useful way chefs came up with to repurpose scraps that otherwise have no use.
That said, it can take a while to collect enough bits and pieces, and you may not want to wait that long to have a good homemade chicken stock. That is where this chicken stock from wings comes in.
White meat provides the most flavorful broth, and unlike chicken breast, wings give the stock not only good flavor, but also body, since wings have many joints and a generous amounts of collagen seep into the broth, creating a silky texture.
If you have any saved-up freezer necks and backs from whole chickens, feel free to toss them in with the wings.
Don't worry about the fat content of wing-based broth, but once the broth is chilled, it can easily be removed.
I've also provided instructions for how to make this stock in both a stock pot and a pressure cooker.
I personally prefer to make chicken stock in a pressure cooker because it takes a fraction of the time.
Chicken Stock vs. Chicken Broth
Broth is usually thinner and made from chicken meat, while chicken stock is made from simmering bones for a long time.
Chicken stock is usually thicker and has a richer mouth feel from the gelatin releases from the long-simmered bones.
Adding onions, carrots, celery, bay leaves, and other herbs adds to the flavor of the stock.
What About Store-Bought Stocks and Broths?
Commercial brands tend to use the terms “stock” and “broth” interchangeably, and store-bought stocks and broths are usually more broth than stock.
They tend to be lightly flavored, lack the body of a homemade stock, and they result in a less flavorful dish.
How Stocks and Broths Are Made
Broths and stocks are also made differently.
Stocks are typically made from meaty raw bones, leftover carcasses, and meat and vegetable scraps. In the case of vegetable stock, only vegetables are used.
Stocks are simmered for several hours (unless you make pressure cooker stocks) to extract as much of the flavor from the ingredients as possible. This also extracts collagen from the bones and cartilage, which adds body and silkiness to the stock.
Broths are usually much lighter and have less body than stocks.
They're most often made from poaching meat, vegetables, and seasonings in water for as long as it takes for the meat to cook or the broth to pick up some flavor.
How Stocks and Broths Are Used
In classic French cuisine, stocks are considered to be an ingredient that's used to make other things.
Also, they're typically left unseasoned or only minimally seasoned so that they can be used in as wide a variety of ways as possible.
Stocks can be used to make soup, reduced into a sauce or a glaze, or as an ingredient in many recipes.
Broths, on the other hand, have been salted, which restricts the ways they can be used.
For the most part, broths are consumed on their own or used as a base for soups, like chicken soup.
This definition of stocks as an ingredient and broths as a food product is the way classically trained chefs tend to think about such things in their restaurant kitchens.
What Meat Makes the Best Stock?
Stock is usually made with the scraps and bones of a chicken that's already been butchered for other uses. However, it can be made with a whole chicken, any of its parts, or a combination. Different parts of the chicken give different flavors to the stock.
The results of an experiment done by Serious Eats:
- Instead of tasting flavorless and washed out, the chicken breast produced the cleanest-tasting stock, with the most intense chicken flavor. But it also produced the thinnest stock in terms of body.
- The thigh meat also produced a light-colored stock, but it had a muddier, less clean flavor than the breast stock.
- The wings produced the stock with the most body, which makes sense, given the number of cartilage-rich joints in each wing. But, the flavor was also not as chicken-y as that of the breast stock.
- Bones also made a stock with a less distinct chicken flavor, but they contributed some bass notes that were pleasant.
- The whole chicken produced a middle-of-the-road stock: not as tasty as the chicken breast stock, but not as muddy as some of the others.
So, for the absolutely best tasting chicken stock, where money was no object, a combination of breasts and wings would provide the best flavor.
However, for good balance between rich texture, decent chicken-y flavor, and relatively low cost, chicken wings are the way to go.
Adding Vegetables to Your Stock
The classic trio is a mirepoix which consists of onions, carrots, and celery.
However, technically, you don't have to. Sometimes, it is preferable not to have the flavor of mirepoix in there.
Also, if you're using roasted carcasses, they often already have a lot of flavor by themselves.
When making a stock, it is common to throw halved onions and big chunks of carrot and celery into the pot. However, diced aromatics produce more flavor.
About the Fat Cap
Lots of cookbooks advocate skimming the fat from the stock. I prefer the school of thought of letting the fat settle in a layer on top of the stock as it cools so it acts as a protective layer over the stock.
Bacteria need oxygen to grow, so by allowing the fat to rise to the top of the stock and settle, we will create a protective barrier between the stock and the oxygen in the air above.
If you keep the fat layer on it, the fat will preserve stock longer in the refrigerator. Just lift up the layer of fat and remove the stock when you want to use it.
To store the stock in the refrigerator for up to a few weeks: every few days, bring the stock to a simmer for 10 minutes and let it cool again with the fat forming a protective layer.
Pressure Cooker Stock
If you are using an electric pressure cooker, like an Instant Pot, all you have to do is throw everything in and program it.
Unlike stocks cooked on the stove, with a pressure cooker, there’s no evaporation. In fact, you’ll likely wind up with more liquid than you started off with, because some of it will cook out of the bones and meat.
On the stove top, the clock starts once the pressure cooker is fully pressurized.
How Long to Cook Stock in the Pressure Cooker
Stock cooked for 30 minutes is lighter in color, but still has a gelatinous body. The flavor is chicken-y, but clean and straightforward.
Stock cooked for 60 minutes gives you a stock that’s darker and not as clear. It has more of that slightly fatty “boiled chicken meat” taste and smell, but is also more chickeny.
Stock cooked for 45 minutes is a good compromise. This stock has good color, body, and flavor without tasting so boiled.
Experiment with cooking times and see what you like best.
How to Properly Cool Your Stock
Stock that isn't cooled properly before refrigerating it can cause it to sour and become ruined.
If you put a steaming-hot stock in the fridge, it can create perfect conditions for bacteria to grow. To avoid this, let your stock cool to at least room temperature before refrigerating it.
The fastest way to cool a few quarts of stock is to strain it into a wide stockpot or bowl. The increased surface area lets it cool more quickly. To speed things up even further, fill the sink with ice water and put the stockpot in there.
How to Skim the Fat
After the stock has cooked and the pressure has come down, strain out the bones.
You’ll probably see a decent amount of fat at the top of your strained stock. How much will depend on what chicken bones or bits you used.
There’s an easy way to handle this. Let the stock cool to room temperature on your counter, then refrigerate it. The next day, there will be a cap of solidified fat at the top.
Scrape it off and do what you will with it. If you keep the fat, refrigerate it, and use it within a week.
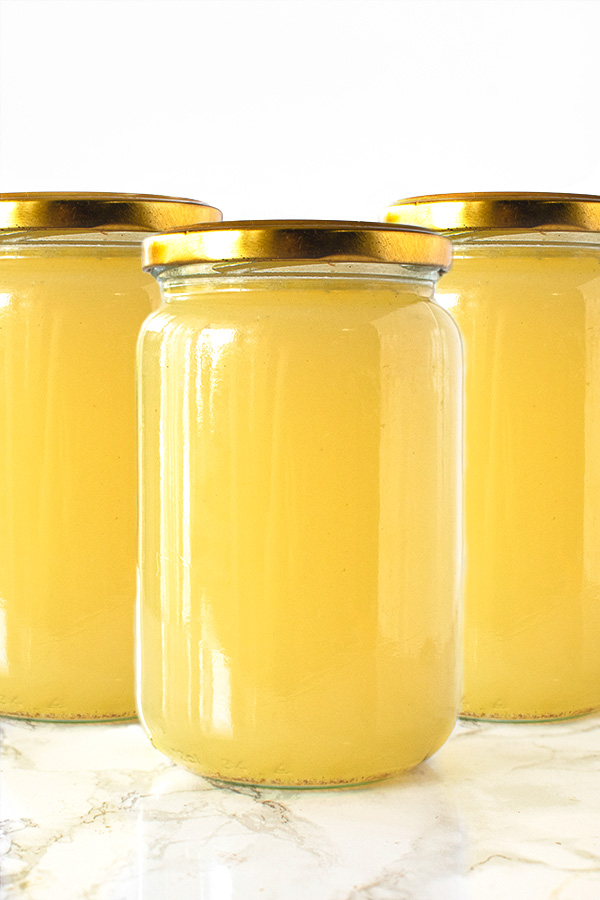
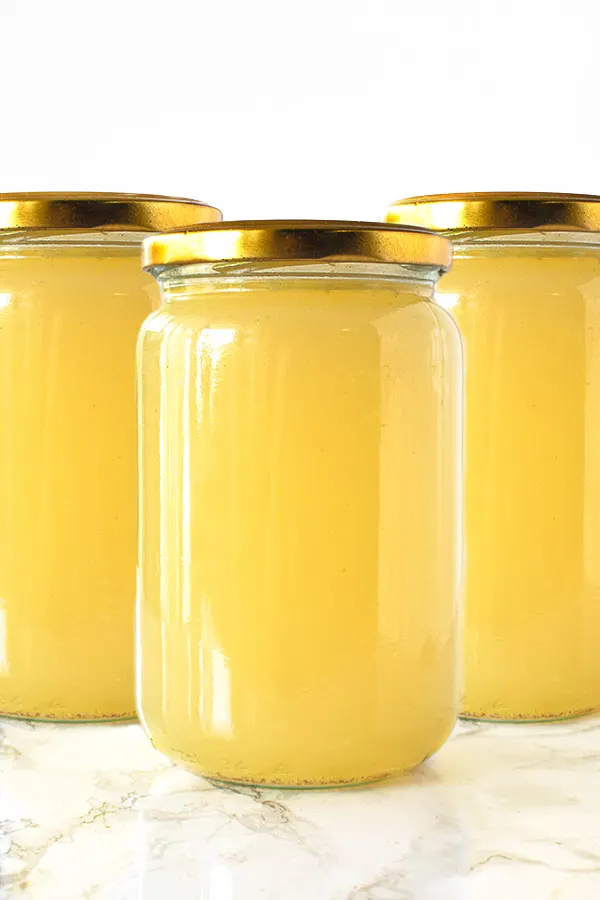
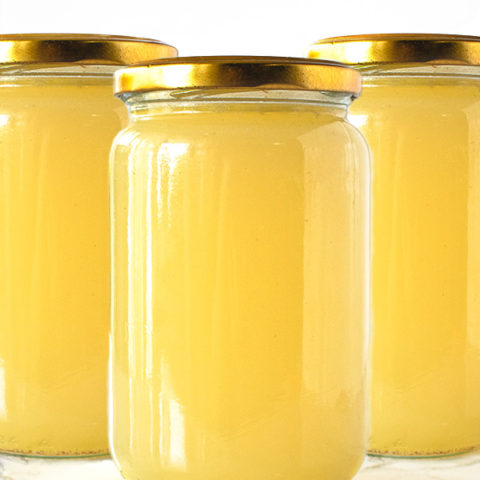
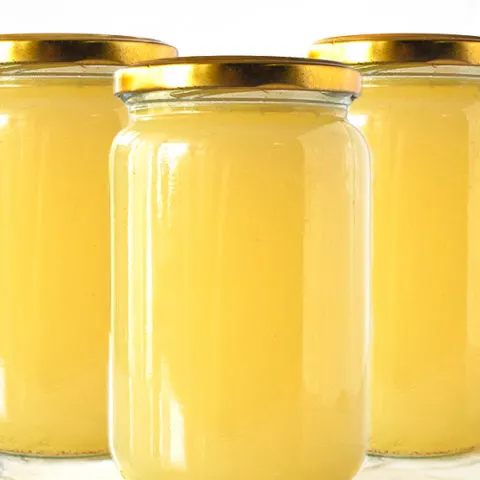
How to Store Stock
Let the stock cool completely before refrigerating. When you are ready, pour into glass jars and refrigerate.
Stock should last a week or so in the fridge.
How to Freeze Stock
Let the stock cool completely before freezing and ladle off some of the excess fat on the surface.
Pour into a freezer safe container. Leave at least an inch of head space, allowing enough room for the liquid stock to expand as it freezes
Stock should last several months in the freezer.
Chicken Wing Stock
Chicken wing stock is easy to make, doesn't require weeks of collecting bones, has a delicious flavor, and provides a silky body.
Ingredients
- 3 ½ pounds chicken wings, chopped at the joints
- 1 medium onion, diced
- 1 medium carrot, chopped
- 1 rib celery, chopped
- 2 bay leaves
- 2 to 3 quarts water, or as needed
Instructions
Stock Pot
- Place chicken wings, onion, carrot, celery, and bay leaves in a stock pot.
- Add enough cold water to the pot to cover the ingredients by 2 inches.
- Bring to a boil.
- Reduce heat and simmer uncovered for at least 2 hours and up to 6 hours, adding more water as needed.
- Remove the wings and strain stock through a fine-mesh sieve into a large bowl. Discard solids.
Pressure Cooker
- Place chicken wings, onion, carrot, celery, and bay leaves in a pressure cooker
- Add water to almost come level with the bones. Make sure not to fill the cooker more than ⅔ full.
- Bring the pot to pressure. Cook for 30 to 60 minutes.*
- Remove the wings and strain stock through a fine-mesh sieve into a large bowl. Discard solids.
Notes
*Cooking for 30 minutes gives you a cleaner-tasting stock, 45 gives you a stock with good color, body, and flavor without tasting too boiled, and 1 hour gives you a darker stock with a stronger flavor. When in doubt, go 45 minutes.
Nutrition Information:
Yield:
12Serving Size:
1Amount Per Serving: Calories: 439Total Fat: 32gSaturated Fat: 11gTrans Fat: 0gUnsaturated Fat: 18gCholesterol: 108mgSodium: 535mgCarbohydrates: 14gFiber: 1gSugar: 1gProtein: 23g