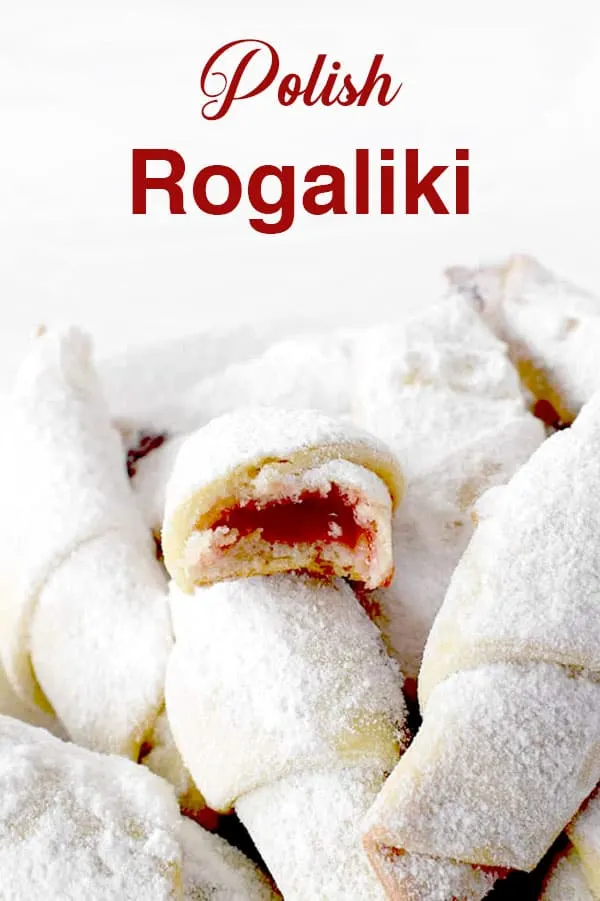
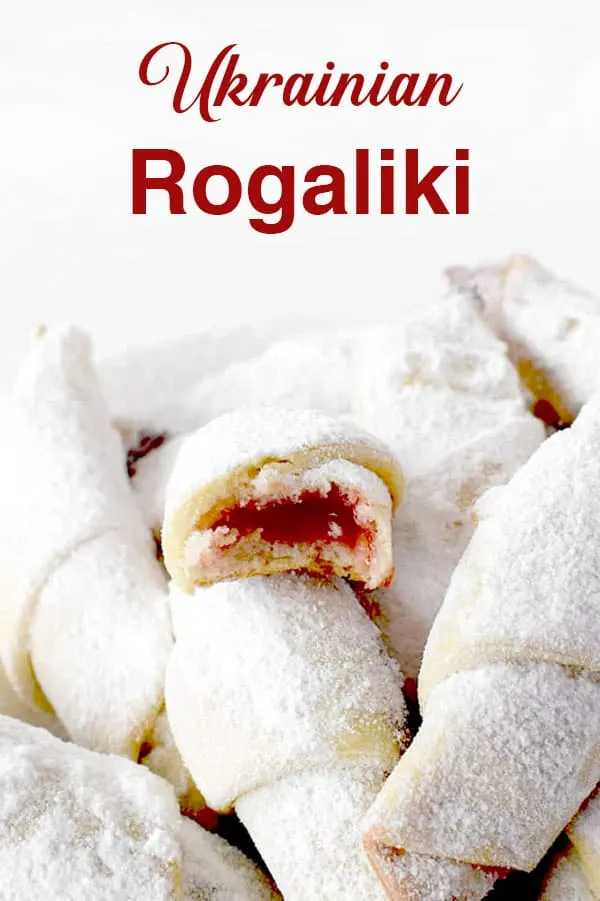
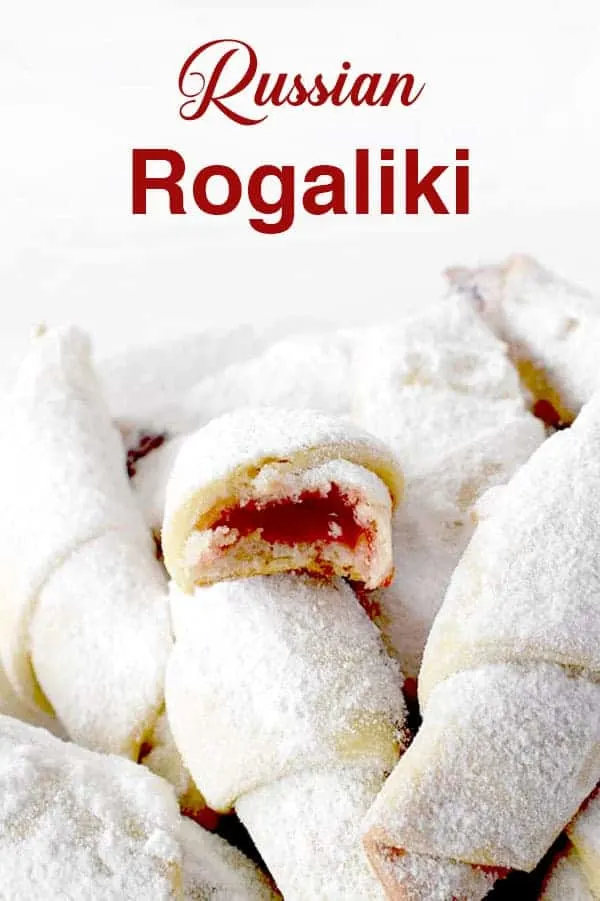
These rogaliki are delicious Eastern European cookies filled with jelly and are traditionally served after a meal along with tea or coffee for dessert.
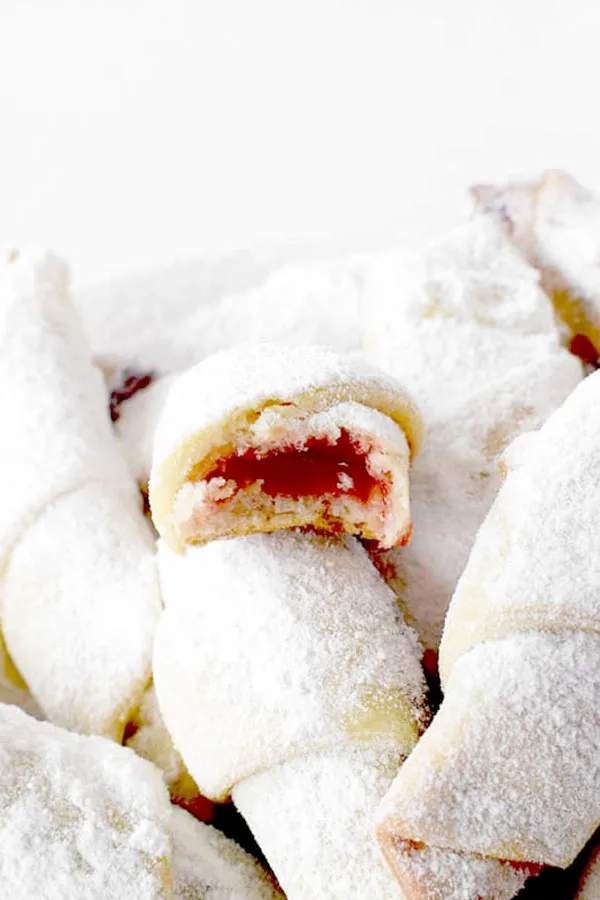
Rogaliki are a popular Russian, Ukrainian, and Polish cookies and mean "little horns" in Polish.
These yeast cookies are very similar to rugelach, the main difference being that while rugelach have the filling spread throughout, rogaliki are filled with jelly or chocolate.
You may be wondering how I came across these cookies. After all, they aren't very popular outside of Eastern Europe.
I actually know of them because of a friend who was born and raised in Moscow.
One day, he was talking to me about his grandmother he had lost and was very close to. Suddenly, he remembered these little cookies filled with marmalade his grandmother used to make.
He wasn't sure if they were Russian and suggested it may be Jewish, because despite losing her religion to the communists, his grandmother would make Jewish foods such as gefilte fish from scratch.
I saw the way his face lit up while speaking about them I decided to find them and make them for him.
It took a little searching because they aren't Jewish, but Eastern European. But a few weeks later, I set a plate of these rogaliki in front of him.
At first, he just stared at them and when he bit into one he started to get choked up and gave me a hug. He said they were just like his grandmother's rogaliki. That, my friends, is the power of food.
While most rogaliki recipes call for cream cheese, I found this Russian recipe for dairy free rogaliki and my friend couldn't tell the difference in taste.
These cookies are a perfect dessert to have after a beef stroganoff dinner for a classic way to end the meal.
CAKE FLOUR VS ALL-PURPOSE FLOUR
Cake flour is ideal for recipes where a light and fluffy texture is desired. It can be used to make cakes, cupcakes, muffins, quick breads, and even some cookies where a tender texture is required.
It is made from soft wheat varieties, which have a lower protein content compared to hard wheat. The low protein content creates very little gluten, which results in more tender and less dense baked goods with a delicate crumb.
Cake flour is finely milled, and the grains are smaller compared to all-purpose flour. This gives it a very fine texture, almost like powdered sugar, which contributes to the smooth and tender texture of cakes made with it.
I use all-purpose flour in all my recipes because it's easy to find and most people have it on hand.
Can I use self-rising flour instead of cake flour?
No. Self-rising flour is all-purpose flour that contains baking powder. You'd be better off simply using all-purpose flour.
HOW TO USE ALL-PURPOSE FLOUR INSTEAD OF CAKE FLOUR
If you have a recipe that calls for cake flour but want to use all-purpose flour instead, you can replace it cup for cup.
The cake will just have a slight difference in texture and crumb.
How to make your own cake flour
To make your own cake flour: for every cup of all-purpose flour, remove two tablespoons and replace it with two tablespoons of cornstarch.
So, for example, 2 cups of flour will become 1 ¾ cups of all-purpose flour and ¼ cup of cornstarch.
Replacing some of the flour with cornstarch removes enough protein to mimic the lower protein content of cake flour, resulting in a lighter cake with a more tender crumb.
How to Store Cake Flour
Like other flours, cake flour should kept in an airtight container to prevent absorption of moisture and be stored in a cool, dry place.
HOW TO MEASURE FLOUR AND OTHER DRY INGREDIENTS
The best way to measure dry ingredients is with a scale. However, this is not commonly done in the United States, where dry measuring cups are used instead.
To measure most dry ingredients, first spoon them into a dry measuring cup and then level off the measuring cup with an upside-down butter knife.
Make sure not to pack it down because it can lead to using more of the ingredient than called for.
The exception is brown sugar. To measure brown sugar, pack it into the measuring cup and then level off any excess.
To measure chocolate chips, nuts, or dried fruit, just pour them in and then level them off.
DRY VS LIQUID MEASURING CUP
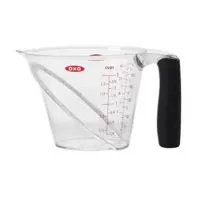
Dry measuring cups are a set of cups that often come with measuring spoons. Each cup is a different measurement just like each spoon is a different measurement.
Liquid measuring cups, on the other hand, are cups that have measuring lines on the side to mark the measurements.
The problem with using liquid measuring cups to measure dry ingredients (like flour and cocoa) is that they are powders. So, as you shake the cup to level them off, the powders settle and you end up with more than you need.
I tested this with a friend who didn't believe me and we ended up with a number of tablespoons more than the recipe called for.
WHY sift Powdery Ingredients
There are a number of benefits to sifting powdery ingredients like flour and cocoa.
First of all, flour is often sifted before use to aerate it and remove any lumps. This helps in achieving a lighter texture in baked goods.
Secondly, if you measure flour that's just been sifted, you can get a more accurate measurement than from flour that's been packed tightly in a bag.
In addition, sifting dry ingredients together, such as flour, cocoa, and baking powder, helps make sure they're evenly dispersed.
BAKING WITH OIL
Baking with oil produces a moister and tenderer texture compared to that of baked goods made with butter.
Cakes, cupcakes, muffins, and quick breads also tend to bake up taller with a better crumb and stay moist and tender much longer than recipes made with butter.
Also, since oil weighs less than butter, baked goods made with oil have a lighter texture than those made with butter.
In addition, butter is usually only 80% fat, whereas oil is 100% fat. As a result, the water that's present in butter strengthens the gluten in the flour, making it more dense and less tender than baked goods made with oil.
Oil is often used in recipes where a lighter and airier texture is desired or in recipes that call for both oil and butter, in order to have the benefits of oil while keeping the butter flavor.
Which Type Of Oil to Use
I use neutral oils like canola oil, safflower oil, and vegetable oil. You can also use stronger oils like olive oil and coconut oil, but they may change the taste somewhat.
Is it better to use canola oil or olive oil?
Canola oil is relatively cheap and, due to its lack of flavor and high smoke point, is very versatile.
Olive oil, on the other hand, is healthier. Also, its stronger flavor makes it preferable in recipes such as focaccia, which require its distinct taste.
Baking with Oil Conversion Chart
If you want to convert your butter recipes to oil recipes, take a look at my baking with oil - butter to oil conversion chart.
How to store Oil
Store oils in a cool, dark place to prevent them from becoming rancid.
If refrigerated, some oils, like olive oil, may solidify, but will return to a liquid state at room temperature.
Coconut oil begins to solidify in temperatures under 76ºF or 25ºC.
Sugar
The primary role of sugar is to be a sweetener. However, sugar also contributes to the tenderness and moistness of the baked good by absorbing and retaining moisture and helps create the golden brown color when baking as it caramelizes.
Recipes with more sugar often result in softer, moister textures. However, I learned the hard way that too much sugar leads to a sticky mess.
When it's heated, sugar caramelizes, resulting in a rich, complex flavor and a brown color. This adds both flavor and color to baked goods and is also the process in which caramel sauce, dulce de leche, caramel candies, and regular candies are made.
When used in recipes containing yeast, the sugar is eaten by the yeast, producing carbon dioxide and causing the dough to rise.
Sugar also acts as a preservative in jams, jellies, and fruit preserves by reducing water activity and preventing microbial growth.
There are many different types of sugar, including white sugar, brown sugar, vanilla sugar, powdered sugar, turbinado sugar, and demerara sugar.
When a recipe calls for “sugar” without specifying anything else, it's referring to regular white sugar.
White Sugar
White sugar (sometimes called granulated sugar, table sugar, or white granulated sugar) is made of either beet sugar or cane sugar, which has undergone a refining process.
It is the easiest to find and most commonly used.
Brown Sugar
Brown sugar is white sugar with molasses added to it.
It is commonly used in chocolate chip cookie recipes, and it’s rare for a recipe that calls for brown sugar not to also call for white sugar as well.
When a recipe calls for “brown sugar” but doesn’t specify what type (light or dark), it is referring to light brown sugar.
In my recipes, you can use whatever type of brown sugar you have on hand, whether it is dark brown sugar, light brown sugar, or demerara sugar - which is very common in Israel.
Just keep in mind that the flavor and color will be slightly different, depending on what you choose to use.
Turbinado Sugar
Turbinado sugar is better known as "raw sugar." But, despite this name, the sugar is not really “raw.”
Instead, it's partially refined sugar that retains some of the original molasses.
The term "raw sugar" may also give off the impression that it is somehow healthier.
In reality, turbinado sugar is nutritionally similar to white sugar.
Demerara Sugar
Demerara sugar is very popular in Israel and is especially delicious in tea, but is also used for baking.
Unlike white sugar, demerara sugar undergoes minimal processing and retains some vitamins and minerals.
However, it is still not much healthier than white sugar.
Vanilla Sugar
Vanilla sugar is not very common in the States. However, it is common in Israel and parts of Europe.
This is sugar that sat for an extended period of time with vanilla beans, giving it a vanilla flavor.
Caster Sugar
This type of sugar is common in the United Kingdom.
It has a grain finer than white (granulated) sugar and larger than powdered sugar.
Caster sugar is often called for in recipes for delicate baked goods like meringues, souffles, and sponge cakes.
You can use a 1:1 conversion rate between caster sugar and white (granulated) sugar.
Powdered sugar
Powdered sugar, sometimes known as confectioners’ sugar, is a sugar with a powdered texture.
This sugar is rarely used for baking. Instead, it is used for dusting desserts and making frosting, icing, and glazes.
In some countries, you can also find powdered vanilla sugar.
It is made the exact same way regular vanilla sugar is made. However, the sugar used is powdered instead of granulated.
Vanilla Extract vs Vanilla sugar
In my recipes, I don’t specify what kind of vanilla to use.
The reason for this is that in the States, vanilla extract is exclusively used.
Meanwhile in Israel, along with many European countries, vanilla sugar is common.
In most, if not all recipes, both vanilla extract and vanilla sugar can be used.
In recipes where vanilla sugar can be used instead of extract, you can replace them 1:1.
Replacing Sugar with Honey
If you’d prefer to use honey instead of sugar, you can do so with pretty good results.
Honey can be two or even three times as sweet depending on the honey, so for every 1 cup of sugar, you can use ½ to ⅔ cup honey.
Since honey adds liquid, you need to remove some to balance it out. For every cup of honey, remove a ¼ cup of liquid.
Also, it burns faster than granulated sugar, so you want to lower the baking temperature by 25 F. In addition, check it early and often to avoid burning or overbaking.
How to Store Sugar
Sugar should be stored in an airtight container to prevent clumping and moisture absorption, and kept in a cool, dry place.
DO EGGS NEED TO BE AT ROOM TEMPERATURE?
The short answer is "no." While a side-by-side comparison shows that baking with eggs at room temperature makes a better crumb, it’s not otherwise noticeable.
What are Eggs used for?
Eggs do three things in most recipes: they help bind the ingredients together, act as a mild leavening agent, and they add moisture.
ARE EGGS DAIRY?
No, eggs are not dairy. Dairy is milk and any food products made from milk, including cheese, cream, butter, and yogurt.
So, while eggs are an animal product, they are not dairy. In fact, eggs fall under the protein food group.
How to tell if your eggs are still good
Fill a glass with cool water and submerge the eggs.
If the eggs sink to the bottom and lay flat on their side, they're still fresh.
If they sink, but stand on one end at the bottom of the glass, the eggs are not as fresh but still good.
An egg that floats to the top is likely spoiled.
EGGLESS OPTION
Eggs can be substituted with ¼ cup of unsweetened apple sauce per egg. This means that for recipes calling for 2 eggs, you’d need ½ cup of unsweetened apple sauce.
The reason applesauce makes a good binder is that it's high in pectin. Pectin is a naturally occurring starch in fruits and berries that acts as a thickening agent and stabilizer in food.
This happens when combined with sugar and acid (if the fruit or berry isn't naturally acidic).
Just keep in mind that it may change the flavor slightly.
Yeast
Yeast is used in bread and other baked goods to create a light and airy texture.
It does this by fermenting sugars, which causes dough to rise.
In most cases, the yeast is dormant until activated or "bloomed" by being rehydrated and woken up. Usually, this is done with warm liquid and a small amount of sugar.
Once activated, it begins the proofing process.
"Proofing" is the fermentation process where yeast eats the sugar and forms bubbles, indicating that it's alive and ready to leaven the dough.
Types of YEAST
There are seven different types of yeast used for baking. However, only five are relevant to home bakers, and just about all my recipes only use instant yeast.
WILD YEAST
Wild yeast is found naturally in the air. This type of yeast is used for sourdough breads, and in order to use it, you need to make a sourdough starter.
FRESH YEAST
Fresh yeast, cake yeast, block yeast, wet yeast, or compressed yeast, is found in small, foil-wrapped cubes.
It is far less popular with home bakers because it’s highly perishable. However, it is still widely available for commercial use and is still used by home bakers in some countries.
The benefits of using it is that it’s easier to measure and has the most leavening power.
If you want to use fresh yeast in this recipe, then for every 1 teaspoon of instant dry yeast, you'd need 17 grams (or 0.6 ounces) of fresh yeast.
Make sure to bloom it before using it in this recipe.
ACTIVE DRY YEAST
Active dry yeast looks like large-grained powder, mainly used by home bakers in the United States.
It has a much longer lifespan than compressed yeast, lasting up to a year at room temperature and more than a decade if frozen.
The main downside of using this is that a lot of the yeast is already dead, so you need more of it than other yeasts. This can cause an undesired yeast flavor.
If you want to use active dry yeast in this recipe, then for 1 teaspoon of instant dry yeast, you need 1 ¼ teaspoons of active dry yeast.
Make sure to bloom it first before using it in this recipe.
INSTANT YEAST
Instant yeast looks the same as active dry yeast. However, it does not need to be proofed before using.
Instead of having to be activated in warm liquid first, it can be added as is when making the dough.
It is more perishable than active dry yeast, lasting only 2 to 4 months at room temperature, but lasts for years if kept in the freezer.
This is my favorite type of yeast to use because it lasts longer than fresh yeast, and you need less of it than active dry yeast.
RAPID-RISE YEAST
Rapid-rise yeast is often specifically marketed toward users of bread machines. It’s essentially instant yeast with a smaller grain. The smaller granules allow it to dissolve faster in the dough and therefore rise faster.
While most baking experts believe that the bread flavors aren’t as developed by using this yeast, others feel it makes little difference.
Activating Yeast
The purpose of activating yeast is to make sure that the yeast cells are alive. This is a necessary step for most types of yeast.
To activate the yeast, mix the yeast with warm liquid (usually around 110°F or 43°C) and a small amount of sugar. The sugar provides a food source for the yeast. After a few minutes, the mixture should become frothy, indicating that the yeast is active and ready for use.
WHY ACTIVATE OR BLOOM INSTANT YEAST?
"Activating" and "blooming" yeast are different terms for the same process.
While instant yeast does not actually need to be bloomed, I do it anyway because it helps troubleshoot if any problems come up.
By blooming the yeast first, you know it is active. So, if the dough has trouble rising, you know it’s not the yeast.
This is particularly useful when you don’t have a “warm” place to let it rise.
While the sugar content may matter for most types of yeast, it doesn't seem to make a difference for instant yeast.
When I activate instant yeast, I usually mix all the liquid, sugar, and yeast together in the bowl. Once it froths up, I add the rest of the liquid ingredients followed by the rest of the dry ingredents.
How to Bloom Yeast
To bloom, place the yeast, lukewarm water, and sugar together in the bowl. Stir and wait for it to activate.
The water must be warm because hot water will kill the yeast and cool water won't activate it.
If you are using fresh yeast, make sure to break it up with a fork once it is in the water.
You know the yeast is activated when foam appears on the surface. This can take up to 10 minutes.
Storing Yeast
Once opened, store in an airtight container and keep in a cool, dry place.
If you keep the yeast in the freezer, it will stay good for years.
Baking with Humidity
Humidity can have a big impact on how your baked goods come out.
This is because when humidity is extremely high (think 70 percent or more), baking ingredients like flour, sugar, salt, baking powder, and baking soda soak up moisture from the air.
This can negatively impact the outcome of your cakes, cookies, yeast breads, and quick breads.
There are some things you can do to try to save your baking.
Try to counterbalance the additional moisture
To help counterbalance the additional moisture your dry ingredients soak up from the air, try reducing the amount of liquid in the recipe by about one quarter.
If the batter or dough looks too dry once all the ingredients are mixed together, add additional liquid a tablespoon at a time until you have the desired consistency.
This is not usually possible to do for cookies, but it does work for cakes and breads.
Store Ingredients in the Fridge
If flour and sugar are stored in the refrigerator or freezer rather than in a cupboard or pantry, they are better protected from humidity.
As an added benefit, keeping these ingredients cool also helps keep them fresher longer, in addition to helping them stay bug-free.
For the best results, let them warm to room temperature before using.
Bake for Longer
If you bake your goodies for a few extra minutes, it can help the liquid to cook off.
To avoid overbaking, continue testing for doneness every couple of minutes for breads, quick breads, cakes, cupcakes, and muffins. Cookies, on the other hand, need to be checked every minute.
Use Air Conditioning
To help lower humidity levels on humid summer days, air condition the room for at least an hour before you start baking.
Cooler air isn’t able to hold as much moisture as warm air.
Store your baked goods in an airtight container
Humidity can also ruin your fresh-baked goods because when they are left out, they can absorb moisture.
To avoid this, store them in an airtight container or resealable bag.
Adjusting for a Convection Oven
Convection ovens blow the hot air around, producing around 25 to 30 percent more heat.
Since convection ovens produce more heat, you need either lowering the temperature or shortening the cooking time to compensate.
When recipes specify temperatures and cooking times, it’s for conventional ovens, unless specified otherwise.
A simple rule to follow is to lower the temperature by 25ºF or 14ºC when baking cookies and pies, and 50ºF or 28ºC when roasting meat and poultry. Some convection ovens offer separate settings for baking and for roasting.
You can also leave the temperature the same and instead, shorten the cooking time by 25 percent. For example, if your recipe calls for 60 minutes in the oven, check the food after 45 minutes instead.
However, keep in mind, some convection ovens actually make a heat adjustment for you. That is, if you set a convection oven for 350ºF, it might actually set itself to 325ºF to compensate. So, check your manual before making adjustments.
TROUBLESHOOTING
WHY IS IT TAKING LONGER THAN DESCRIBED TO BAKE?
Over time, the thermostat on ovens gets a little off, causing some ovens to run hot and others to run cool. This is why recipes tend to say things like “10 to 15 minutes or until golden brown.” So, if it takes you longer than expected, that’s fine, don’t worry about it. Just keep baking until ready.
WHY DID MY RECIPE COME OUT TOO DRY?
Just like some ovens run cool, others run hot. If your oven runs hot, bake these at a lower temperature. Ideally, you should get an oven thermometer to know what temperature you’re really baking at.
HOW TO STORE COOKIES
Let cookies cool completely. Place in a resealable bag or an airtight container. Store at room temperature for up to a week.
HOW TO FREEZE COOKIES
Let cookies cool completely. It is best to freeze cookies on a tray so that they freeze as individuals. Then, move to a resealable freezer bag.
If this is not practical for you, place cooled cookies in a resealable freezer bag and freeze that way.
Cookies will keep for up to 3 months. After that, the quality begins to degrade.
When thawing baked cookies, remove from bag and let sit at room temperature.
If desired, you can gently reheat thawed cookies to mimic that fresh-baked taste and texture: place them in a 275°F or 135°C oven until soft.
Rogaliki SNAFU:
One of the last times I made these, I forgot to let them rise. They were great fresh out of the oven, but as soon as they cooled, they were very hard.
Rogaliki
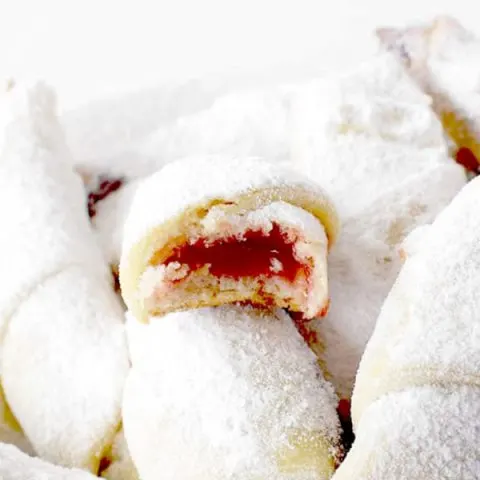
Rogaliki are a popular dessert in Eastern Europe and are perfect to have with tea after a beef stroganoff dinner.
Ingredients
- 1 tablespoon active dry yeast
- ½ cup warm water (120 milliliters)
- 2 eggs
- ½ cup oil (120 milliliters)
- 2 tablespoons white sugar
- 4 to 4 ½ cups all-purpose flour (480 to 540 grams)
- jelly or chocolate filling of choice
- Powdered sugar
Instructions
- In a mixing bowl, combine warm water, yeast, and sugar. Let sit for five minutes or until it foams.
- Add eggs and oil. Lightly mix.
- Using a baking spatula to mix, add half a cup of flour at a time until it becomes doughy and smooth.
- Divide the dough into four equal parts. Roll one part out until it is a circle about 10 to 12 inches wide, and then divide it into 8 slices.
- On each slice, dab about a dime's worth of filling of choice a little below the top.
- Roll the top over like a hood and press down to hold the filling in. Then, roll the rest of the way towards the center.
- Place each rogaliki on a baking sheet lined with parchment paper. Let rise until doubled in size.
- Preheat your oven to 350°F or 175°C.
- Bake for about 15 minutes or until the rogaliki are a light golden color.
- Remove, and while warm, dust generously with powdered sugar.
Notes
Calorie count does not include filling or powdered sugar.
Recommended Products
Some of the links below are affiliate links, which means that if you choose to make a purchase, I will earn a small commission. This commission comes at no additional cost to you.
Nutrition Information:
Yield:
32Amount Per Serving: Calories: 125
