Butternut squash puree can be used as a natural alternative to canned pumpkin. Just replace pumpkin puree with this butternut squash puree in your favorite pumpkin recipes.

Butternut squash puree is easy to make and has some surprising uses. Some people use it as homemade baby food, and while this is a very good use, it's not why I have lots of it on hand.
My favorite uses for it is anywhere you'd use canned pumpkin. I've used it to make butternut squash bread and butternut squash muffins.
You can also used this puree to make pies. I've used it to make pumpkin pie and butternut squash pie.
This can also be used to make baby food which I think is a delicious option for a baby! However, since I don't have a baby, I'd rather use it to make pumpkin muffins.
Why use butternut squash instead of pumpkin?
In 2012, Melissa Clark did a pumpkin pie test to see which squash made the best pumpkin pie.
I have to admit, at the time, I was surprised to read that butternut squash won out and not the sugar pumpkin.
I mean, it seemed like a given that a an actual pumpkin and one sweet enough to have the word "sugar" in its name would win.
It turns out though that there is actually no botanical difference between pumpkin and butternut squash.
In fact, I've read that the Dickinson pumpkin that Libby’s uses is actually more similar to butternut squash than to sugar pumpkin.
This discovery is great for anyone who likes to avoid canned products or use organic. It's also a great alternative for Americans living abroad like myself.
Here in Israel, I don’t have easy access to canned pumpkin and it can be expensive. So, I’d rather buy a butternut squash at my local market.
How to make butternut squash puree
The process is really simple, and at the end of the day, is easier to manage than a pumpkin. There are even two ways to do it.
The first way is by cutting the butternut squash in half down the middle and bake it. This is my preferred method.
It requires less cutting time and attention due to the large pieces which are less likely to burn. However, it has less surface exposure to allow for it to caramelize.
The second way is to cube the pieces. It does take more cutting but it's also easier to cut. Start by cutting the butternut squash into quarters then into cubes.
You do have more caramelization, which in theory should add a more natural sweet flavor.
However, you need to keep a close eye on it to make sure none of the pieces start to burn on any of the sides.
Why can your own puree?
Let me start off by saying that you don't need to.
You can use a fresh butternut squash every time you want to make a recipe.
However, there are two benefits to canning it.
The first benefit of making your own canned puree is that you'll have it on hand.
Let's face it, there is something nice about being able to just open a can and pour it into a recipe.
So, if you don't like the metal cans you can buy off the shelf, this is a great alternative.
The second reason is because it is cost effective.
Like any other fruit or vegetable, butternut squash has seasons where it is cheaper to buy.
I've noticed in Israel that butternut squash is almost half the price in the winter as it is come autumn.
So, personally, I think it makes sense for me to buy, roast, and puree butternut squash when it's cheapest and have it on hand year round.
Also, it gives me one less thing to worry about come Thanksgiving.
Adjusting for a Convection Oven
Convection ovens blow the hot air around, producing around 25 to 30 percent more heat.
Since convection ovens produce more heat, you need either lowering the temperature or shortening the cooking time to compensate.
When recipes specify temperatures and cooking times, it’s for conventional ovens, unless specified otherwise.
A simple rule to follow is to lower the temperature by 25ºF or 14ºC when baking cookies and pies, and 50ºF or 28ºC when roasting meat and poultry. Some convection ovens offer separate settings for baking and for roasting.
You can also leave the temperature the same and instead, shorten the cooking time by 25 percent. For example, if your recipe calls for 60 minutes in the oven, check the food after 45 minutes instead.
However, keep in mind, some convection ovens actually make a heat adjustment for you. That is, if you set a convection oven for 350ºF, it might actually set itself to 325ºF to compensate. So, check your manual before making adjustments.
Recipe Tip:
It will keep in the refrigerator in a container for up to 4 days.
You can freeze it for up to 2 months. After that it is still safe to eat but the quality begins to degrade.
Canned, it will last 2 to 5 years. However, it is best to use them within one year for optimum flavor and quality.
Butternut Squash Puree SNAFU:
The first time I made this recipe, I first forgot that baking means the heat comes from the bottom.
So, when the top looked fine, I didn’t think to mix it.
Once I remembered to mix it though, I saw the bottom had cooked more than the top.
So, I decided it would be a good idea to let it cook extra time. What could possibly go wrong with extra caramelization, right?
Apparently, what could go wrong is I dehydrated the butternut squash and it wouldn’t puree until I added water.
However, now I had black spots everywhere from over cooking the butternut squash.
I spent the next hour pushing the puree through a fine mesh sieve.
Luckily, by the end of it, it still tasted fine and I was able to use it.
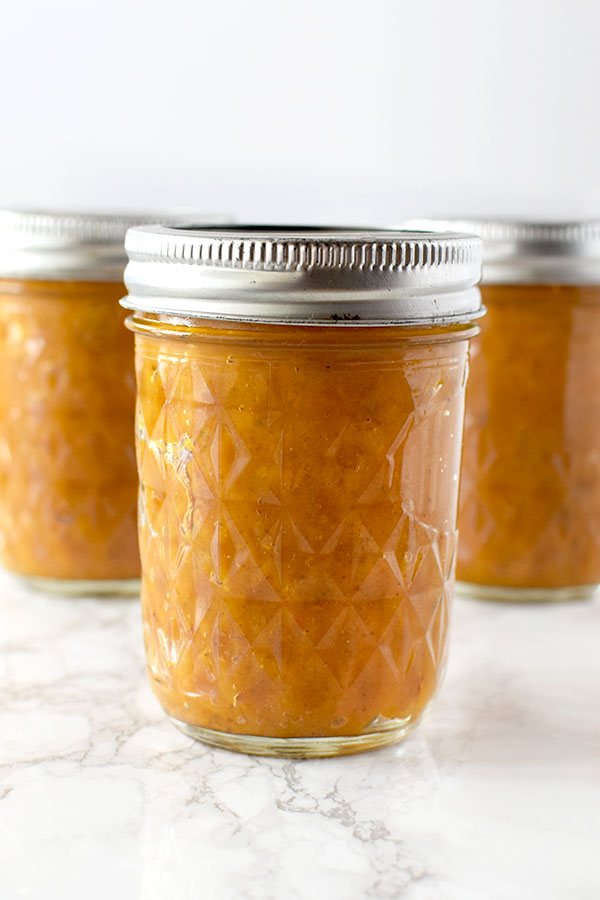
Butternut Squash Puree
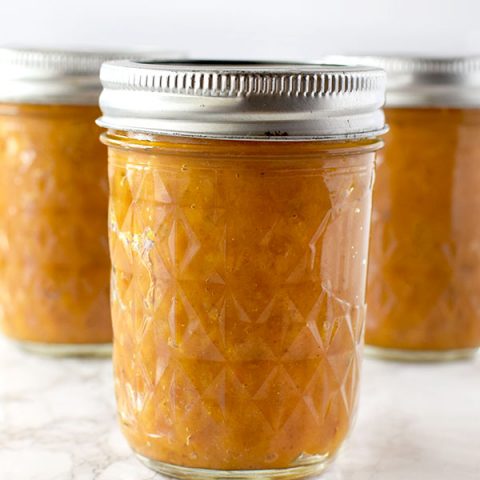

Butternut squash puree is great to use instead of canned pumpkin, since it gives the same great flavor and silky texture without coming out of a can.
Ingredients
- 3 ½ to 4 pounds squash (1.5 to 2 kilograms)
- 1 tablespoon neutral oil
Instructions
- Adjust oven rack to lower-middle position and preheat to 400°F or 205°C.
- Cut the squash in half lengthwise and remove seeds.
- Place cut-side down on a baking sheet lined with aluminum foil or parchment paper. Brush with oil. Roast until tender, about 45 minutes.
- When cool enough to handle, scrape pulp into a food processor and purée until smooth. You should have 3 to 4 cups cups purée.
Notes
If you are planning on using this for baking, strain the puree through a cheese cloth or old clean t-shirt until it has the consistency of canned pumpkin pie filling.
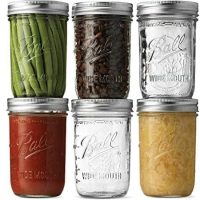
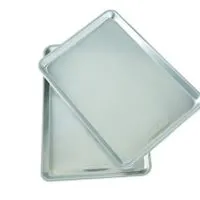
Recommended Products
Some of the links below are affiliate links, which means that if you choose to make a purchase, I will earn a small commission. This commission comes at no additional cost to you.


Nutrition Information:
Yield:
6Serving Size:
1Amount Per Serving: Calories: 90Total Fat: 4gSaturated Fat: 0gTrans Fat: 0gUnsaturated Fat: 3gCholesterol: 0mgSodium: 3mgCarbohydrates: 11gFiber: 3gSugar: 8gProtein: 3g
Linda
Tuesday 26th of October 2021
Can you can the puree instead of freezing it?
ElissaBeth
Tuesday 26th of October 2021
Yes, of course :)
Sunday 24th of October 2021
love the puree. But, the video in ths link is on water bath method . This method is for high acidic foods, such as tomatoes. squash is done in a pressuer canner becuase, of low acid level.
Prescilla
Tuesday 21st of January 2020
How do you can the purée?
ElissaBeth
Tuesday 21st of January 2020
I really like this video on how to can https://www.youtube.com/watch?v=e5q1T7bKoxQ