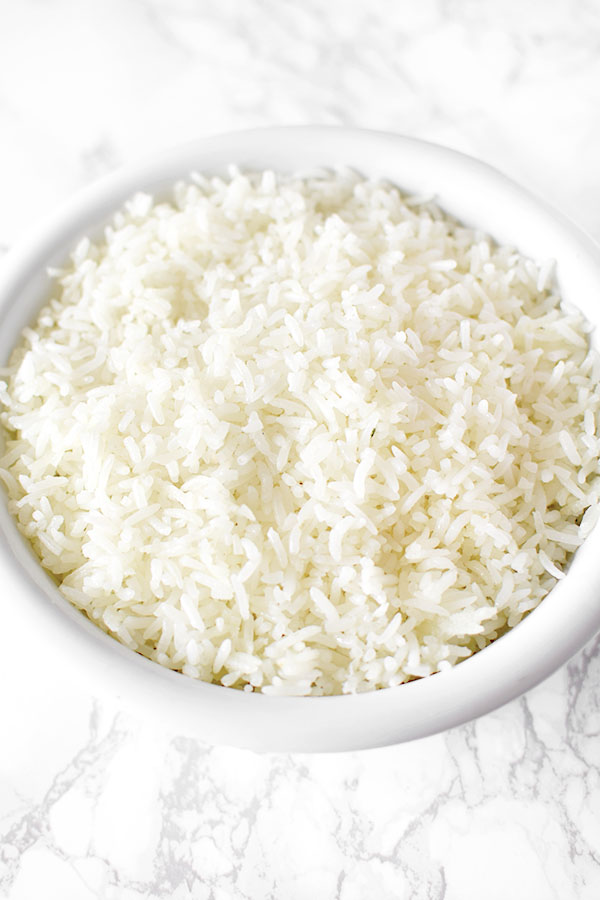
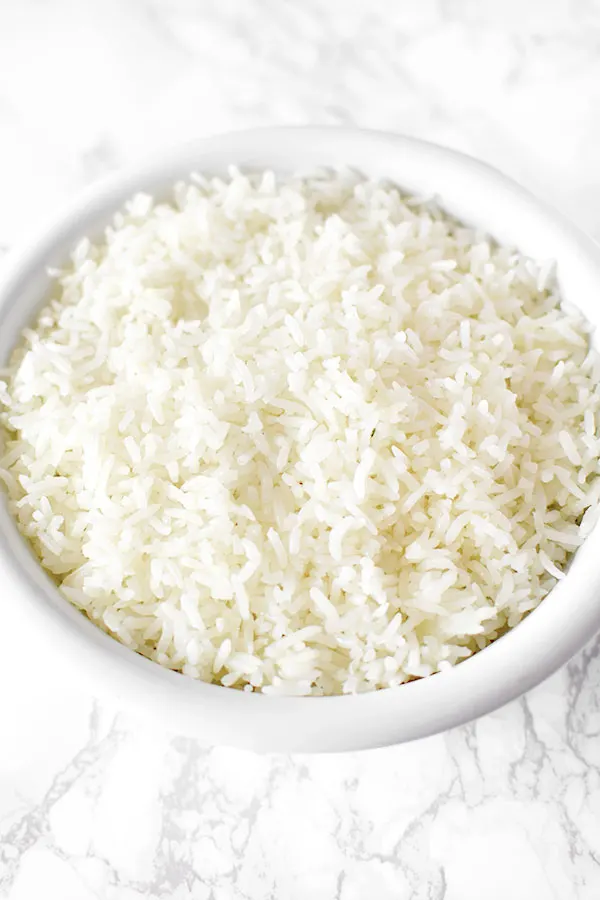
Israeli white rice is much more flavorful than regular white rice and is never sticky but just as simple to make! Serve on the side of meat, poultry, fish, a stir fry or as an addition to other Israeli classics.
White rice is white rice right? I thought so too, but I was wrong.
When I first moved to Israel, I was amazed by how much I better I liked the white rice.
There was something different about it. It was more flavorful.
Whether it was rice from my Doda (Aunt) Channa’s kitchen (check out her red rice!), at the buffet, the absorption center dining hall, served at a catered event, or dinner with a neighbor, the Israeli white rice tasted so much better.
I could see from the shine and the fact that the rice wasn’t sticky that oil was part of the secret, but there had to be more to it.
One day, while Doda Channa made white rice as a side for lunch, I asked her how she makes it.
She said oil and salt, that's it. She said she brings the water to a boil and then turns off the flame and lets the rice cook in the hot water.
This is now how I always make white rice.
If you like this recipe, you may also like my Israeli yellow rice or my Israeli paprika potatoes.
WHY SORT RICE
Sorting rice is useful because I’ve actually found bugs in rice before, especially with already opened bags of rice.
To be sure the rice is clean, measure out how much rice you need, then pour some of it out onto a white plate.
Sift through the rice to make sure there are no bugs – some of which look like small worms.
When done, pour the sorted rice into a pot and repeat with the remaining rice.
As a secondary step, I then fill the pot with water and agitate the rice with my fingers. This helps get anything that may have been missed to float to the top.
Pour out the water, and if you found anything, repeat until nothing comes up.
HOW TO STORE DRY RICE
Store the remaining dry rice by placing it in an airtight container or a resealable plastic bag. Keep it in a cool, dark place.
Doing so will protect the rice from bugs.
I always check the rice before using it even when it is stored well, just in case.
WHY WASH RICE
There are three benefits to rinsing rice.
Firstly, it removes any debris.
Secondly, it removes surface starch. If the starch is not removed, it can cause the rice to clump together and get gummy as it cooks.
Thirdly, if there are any bugs in the rice that weren't caught, they will float to the surface while being washed.
Some say to rinse the rice repeatedly until the water runs clear. This isn’t necessary.
Instead, rinse the rice thoroughly a few times. After that, most of the starch should be removed and the water should be only slightly cloudy.
The way I like to wash rice is by putting it in a large bowl or a pot and filling it with water. Then, I shape my hand into a claw and use it to agitate the rice.
This brings up both debris and bugs that may have been missed during sorting.
WHY TOAST RICE
Toasting rice is a step some recipes require where you first lightly fry the uncooked rice. This step is usually done with rice that has not been rinsed.
As with toasting spices and nuts, toasting grains before cooking can enhance their flavor.
Rice is no exception, as it gains a nutty depth which adds an extra layer of flavor to a final dish.
Another benefit is that by toasting the rice first, you are cooking the starches.
This, like washing rice, helps prevent the rice from being sticky. Instead, each grain cooks separately.
RATIO WATER TO RICE
There are many different types of rice. The most popular types require two cups of water for one cup of rice. Some, however, need less water:
Short Grained Rice needs 1 and ⅛ cups water.
Basmati Rice needs 1 and ¼ cups water.
American Long Grain Rice needs 1 and ½ cups water.
Jasmine Rice needs 1 and ¾ cups water.
Also, when multiplying the recipe, rice often needs less water than you’d think. For example, with American long grain rice:
1 cup rice needs 1 and ½ cups water.
2 cups rice need 2 and ¾ cups water.
3 cups rice need 3 and ½ cups water.
HOW TO STORE RICE
Transfer the cooled, cooked rice into an airtight storage container or a resealable plastic bag. Make sure to remove as much air from the bag as possible before sealing it.
Store in the refrigerator for 3 to 5 days.
HOW TO FREEZE RICE
Transfer the cooled, cooked rice into a resealable freezer bag, making sure to remove as much air from the bag as possible before sealing.
Store for up to 6 months. After that, it is still safe to eat, but the quality begins to degrade.
REHEATING RICE
FROM THE FRIDGE
When reheating, place the rice in a pot, sprinkle a teaspoon of water over the top to help loosen stuck, dried grains, then place.
Heat over medium heat, stirring constantly to keep the grains moving, but be careful not to mash them.
FROM FREEZER
Frozen grains can be added directly to hot dishes like stir-fries. If you’re planning on eating it on its own, follow the steps above.
Recipe Tip:
Every time I make any type of rice, I find that the grains at the bottom clump together.
In order to avoid this, I pour the rice into a bowl and fluff the rice.
Also use the leftovers (if there are any!) to make Easy fried rice.
Israeli White Rice
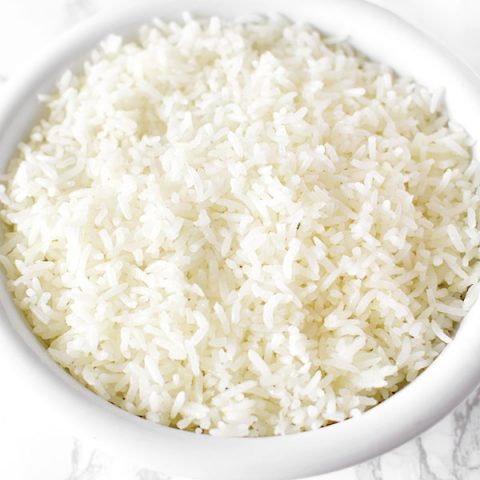

Israeli white rice has a subtle flavor not found in other versions. Serve with meat or chicken.
Ingredients
- 1 cup rice (195 grams)
- 2 cups water (480 milliliters)
- 3 tablespoon oil
- ½ teaspoon salt
Instructions
- Wash the rice in a bowl under tap water. Put your hand in a claw shape and agitate the rice in the water to bring up any impurities. Drain the water and repeat a few times.
- Place the rice into a pot. Add water, salt, and oil. Bring to a boil, then turn off the flame.
- Let the rice sit with the pot covered for 25 minutes.
Nutrition Information:
Yield:
6Serving Size:
1Amount Per Serving: Calories: 76Total Fat: 5gSaturated Fat: 0gTrans Fat: 0gUnsaturated Fat: 4gCholesterol: 0mgSodium: 180mgCarbohydrates: 7gFiber: 0gSugar: 0gProtein: 1g